How to Install and Configure Print Server and Network Printer Windows Server 2016
Print Management saves the print administrator a significant amount of time installing printers on client computers and managing and monitoring printers.
This tutorial is going to explain How to Configure Print Server and Network Printer on Windows Server 2016 step by step.
1. From Dashboard click on “Add roles and features”, and then click Next twice.

2. Then Select your server from server pool, and click Next.

3. On this step, select “Print and documents services” role, once you click on it the wizard will pop up to add it features, click on”Add Features“, and then Next.

4. On the features page, leave the default selections and click Next.

5. The next screen of the installation wizard will provide you some information about the role you are going to install, then click Next.

6. Now select “Print Server” service under Role services, if it’s not already selected and click Next.

7. On the last screen of the installation wizard, Confirm your selection, and click “Install” to start the installation progress of the mentioned role.

8. Now the role is installing.

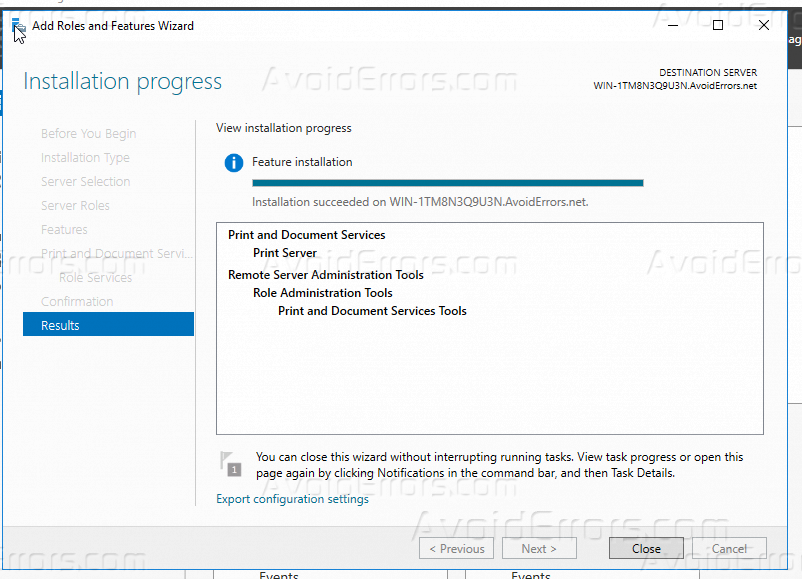
9. The features installation has been completed, you can now click on close button to close the wizard as shown, and to start the configuration step.
Configure Print Server and Network printer on Windows Server 2016
After you successfully installed the role, it’s time to start the configuration of it, Using the steps below you should be able to configure Print server.
1. From the dashboard, click on “Tools” and from the drop-list, click on “Print Management“.

2. From the left pane, click on your server and then right click and select “Add Printer…“.

3. Select “TCP/IP or Web Service Printer by IP address or Hostname” option, click Next to continue as shown.

4. Now enter IP address or the hostname of your printer, and then click Next.

5. Select “Install a new driver” to get the latest driver for your printer and click Next.

6. Select your printer driver, or if you have the required files for its driver click “Have disk…”, for me I will select the driver from the drivers already on my windows server, and then click Next.
7. Now if you want to share your printer check on “Share Printer” if not uncheck it and click Next.

8. This page of the installation will confirm the printer details if its correct click Next.

9. Now the printer driver is installed, and you can test it by check on “Print test page” and once you click Finish a test page will be printed.

Summary
After this tutorial, you should be able to install and configure “Print Services” role and configure it to share on your network, if you have any inquiry regarding this tutorial please comment with it below and I shall try to reply you ASAP.


GOOD JOB
good one mate