How to Create Windows 10 WinPE Boot Disk
Here is how to create you own Windows 10 PE disc. But first we are going to create an ISO image then burn that image onto a disc to create our very own Windows 10 PE disc.
What is WinPE: It is used to prepare a computer for Windows installation, to copy disk images from a network file server, and to initiate Windows Setup. Windows PE is not designed to be the primary operating system on a computer.
1. Download and install Windows Assessment and Deployment Kit (ADK) for Windows 10. While in the installation process make sure Deployment tools is checked.

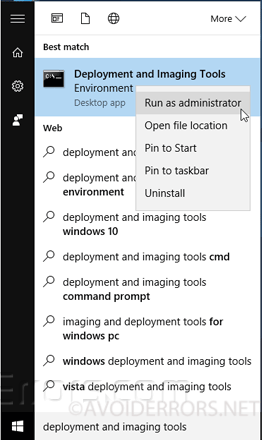
2. Once installed, navigate to the start button and search and for “Deployment and Imaging Tools”. Right click it and run as administrator.
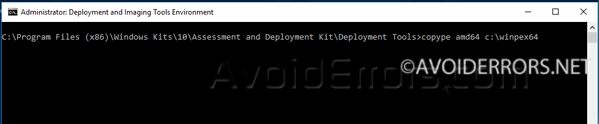
3. Here enter the following command for Windows 10 64:
copype amd64 C:\WinPEx64
For Windows 10 32:
copype x86 C:\WinPEx86
4. Now to create a Windows 10 PE ISO image enter:
MakeWinPEMedia /ISO C:\WinPEx64 C:\WinPEx64\WinPE10.iso

5. Once done the newly created Windows 10 PE ISO will be located in the following path: C:\WinPEx64\WinPE10.iso

6. Finally burn that ISO onto a disc to create a a Windows 10 PE disc.


