How to Disable Remote Assistance – Windows 10
Remote Assistance is a helpful tool that gives another user or someone whom you trust, gain access to your laptop or computer with your credentials. You may have experienced this while getting IT support, or while helping your parents. But it’s not just for tech support.
You can also use remote assistance to access your own laptop from another place, like work, or while on vacation. But it can also be a security risk. So in this article, I will explain how we can disable remote assistance in Windows 10.
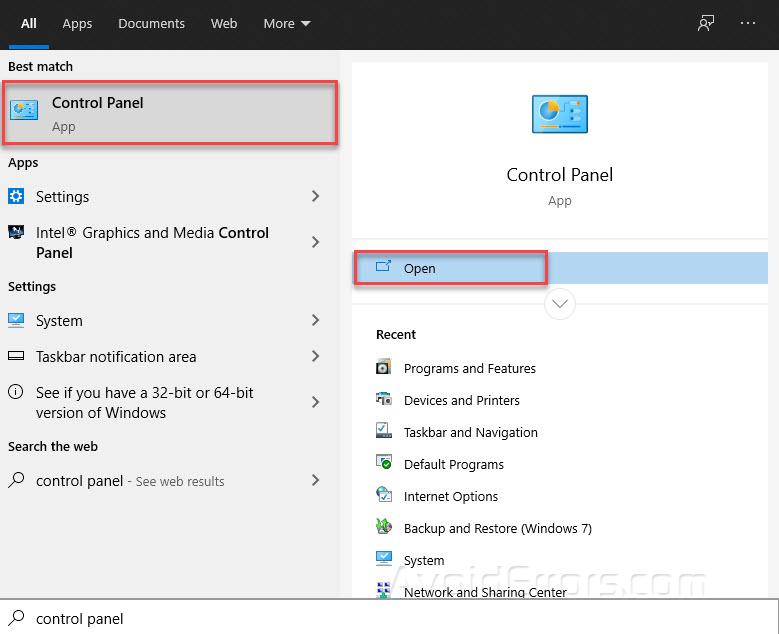
Click the Start Menu at the lower left corner of the screen, then search the Control Panel and click to open.
Click on “System and Security.”

Scroll down to “System”.

Next, click on “Remote Settings” on the left side of the window, to open the Remote Assistance settings window.

Finally, uncheck the box next to “Allow Remote Assistance connections to this computer” and then click “OK.”

This is all that is required to disable Windows Remote Assistance. Next time you need remote help from a friend or family, be sure you re-enable this service before you start.
You can simply re-enable this services by following the same process but in last step, check the box “Allow Remote connection to this computer”. This will re-enable the remote assistance to your computer.


