Enable Roaming Profiles on Windows Server 2016
Roaming Profiles: allows users with a computer joined to a Windows Server domain to log on to any computer on the same network and access their documents and desktop, such as applications remembering the desktop appearance staying the same.
Simplified computer replacement and backup. When a user’s computer must be replaced, it can be replaced easily because all of the user’s profile information is maintained separately on the network, independent of an individual computer.
When the user logs onto the new computer for the first time, the server copy of the user’s profile is copied to the new computer.
With this tutorial, we are going to explain how you can create a roaming profile in Windows Server 2016.
Enable Roaming Profiles
1. At the first, we need to create a “Share” folder where all the profiles will be located on it.
2. Open Server Manager and go to the “File & Storage Services” then click on “Shares” tab.

3. Create a new share.

4. Make sure that your selection “SMB Share – Quick” and then click Next.

5. Locate the folder of the roaming profiles and add $ at the end of the path to make the shared folder invisible for anyone then click Next.

6. Leave all the fields as it’s and click Next.

7. Make sure to check on “Enable access-based enumeration” for recommended security and then click Next.

8. Now we had to set the permissions for all the users and we need to allow access to all our domain users, we click “Customize Permissions”.

9. On this screen click on “Add”.

10. Select the group for example “Domain Users” group and apply the permissions to This folder only. You must enable “List folders / read data” & “Create folders / append data”, and then click Ok twice and Next.

11. Confirm and then click “Create” to create the shared folder.


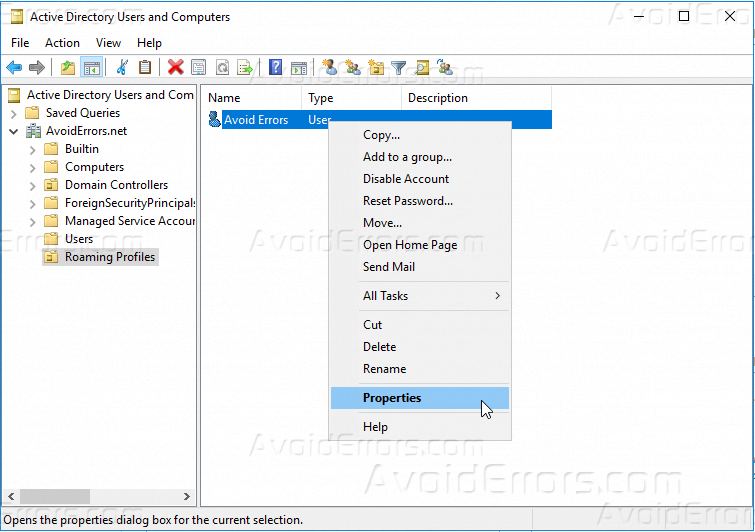
12. Now open “Active Directory Users & Computers” from the Tools menu.

13. Right-click the user that you want to enable “Roaming Profile” and click on Properties.
14. Click on “Profile” tab, and write the below text but replace it with your server name and your shared folder name.
\\server_name\profile_folder_name\%username%

15. Now this user is enabled for roaming profile and his profile will be visible for him from any machine he will log in.
Summary
After this tutorial, you should be able to know how you can enable roaming profile through a shared folder and how to set its permissions.


