Fix There is a Problem Connecting Securely to This Website
Some Internet Explorer and Edge users have seen an error message that says, “There is a problem connecting securely to this website.” This website’s security certificate is not reliable.
Any browser can have this problem with an invalid certificate, but the error messages aren’t always the same. In this case, the error makes it impossible for you to open the website.
This can be very frustrating, but this article has the best ways to deal with it.
Try an Alternative Browser
This error can sometimes be caused by your browser. If you want to fix it, you should switch to a different browser for a while.
Check your Antivirus
In some cases, your antivirus is to blame for the error you mentioned. Some security settings can mess up your system and make this problem show up, but you can fix it by turning off some antivirus features.
Check your Date and Time
Press Win + I to open Settings.
Go to Time & language and click on Date & Time.

Disable Set time automatically.

Wait for a few seconds and turn it back on.
This will get your time and date back in sync. Once you decide on a date and time, the problem should be fixed.
Add the Website to Trusted Websites
Type Internet Options in your Windows search bar and select Open.

Under the Security tab, select Trusted sites and click on Sites.
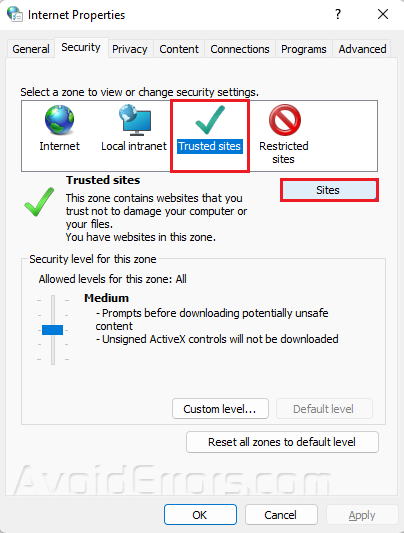
Enter the URL in the Add this website to the zone section.
Click on the Add button.

Make sure to only add sites that you know and trust.
Clear the SSL Cache
Type Internet Options in your Windows search bar and select Open.
Under the Content tab, click on Clear SSL state.

By clearing the SSL cache, you should get rid of any corrupted certificate data and be able to get to the website you want.
Remove OpenDNS
Type Control Panel in your Windows search bar and select Open.
Make sure that your View by: is set to Category.
Click view network status and tasks under Network and Internet.

Select Change adapter settings.

Right-click on your adapter and click Properties.
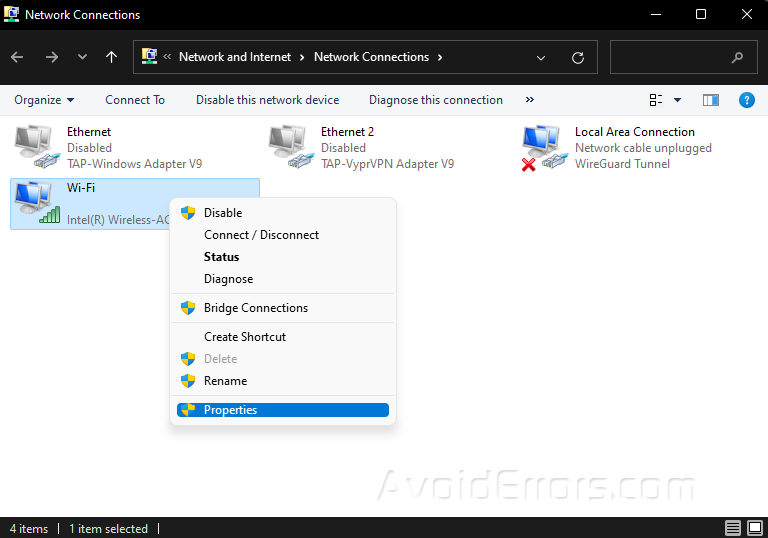
Click on Internet Protocol Version 4 (TCP/IPv4) and select Properties.

If there is any, delete the listed DNS server address numbers and select Obtain DNS server address automatically.

Press OK to save your changes.


