Fix Threat Service Has Stopped in Windows 11
Windows Defender, also called Windows Security, is a powerful antivirus program that comes with Windows 11. It can help scan the whole operating system and protect the computer in real time from malware and viruses.
But sometimes this antivirus software doesn’t work right, and you may run into problems like Windows Defender not starting, Windows Security not working, Windows Defender Offline Scan not working, and more.
This article listed different solutions that can help you if you run into one of these problems. Continue reading below.
Enable Windows Defender Services in Services
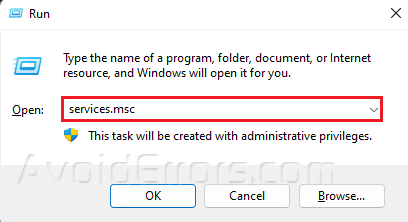
Press Win + R to open the Run dialog.
Type in “services.msc” and press OK.
Look for the following services and make sure the Startup type is in the right default values:
Windows Defender Advanced Threat Protection Service – Manual
Windows Defender Antivirus Network Inspection Service – Manual
Windows Defender Antivirus Service – Manual
Windows Defender Firewall Service – Automatic

If you need to change the Startup type, double-click o the Name.
Select the Startup type and select the right values.

Press Start to change the Startup Type.
Click Apply and OK.
Restart your PC.
Uninstall Third-Party Antivirus
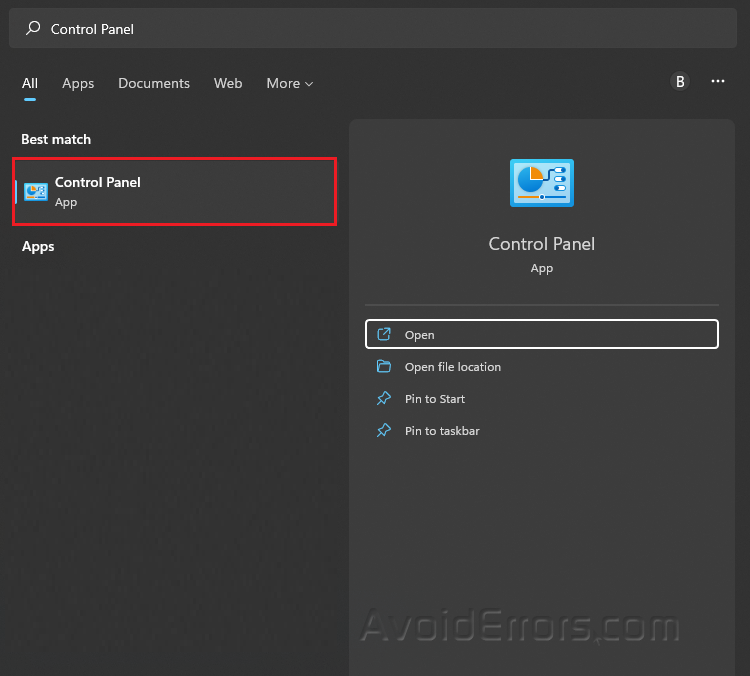
Press the Start button and search for Control Panel.
Ensure that your View by is set to Large icons.
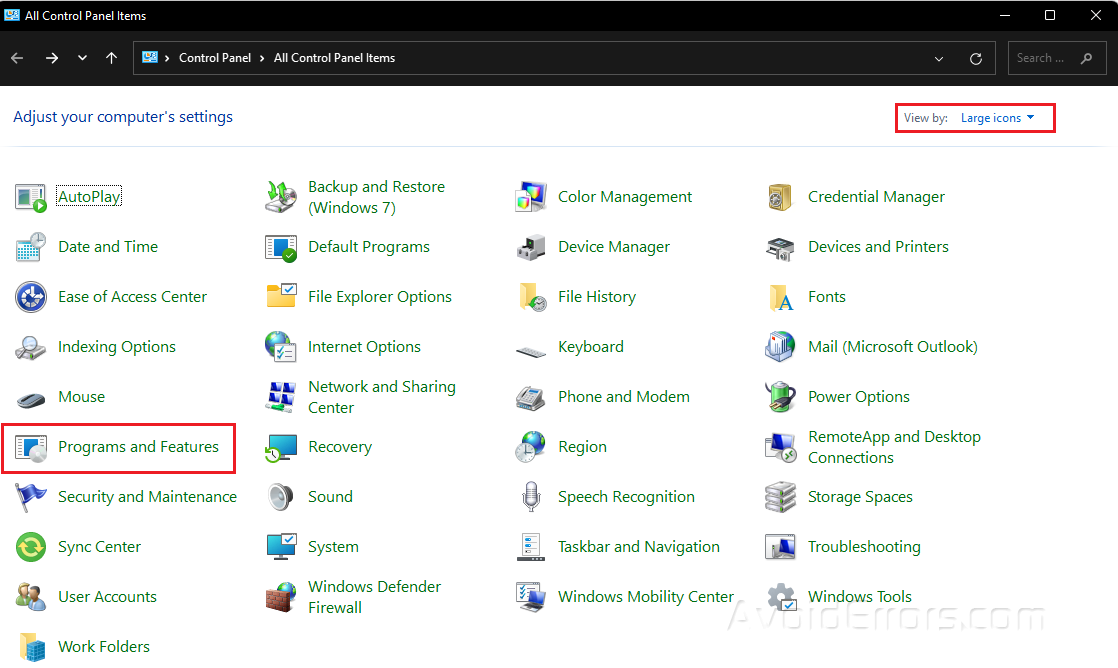
Go to Programs and Features.
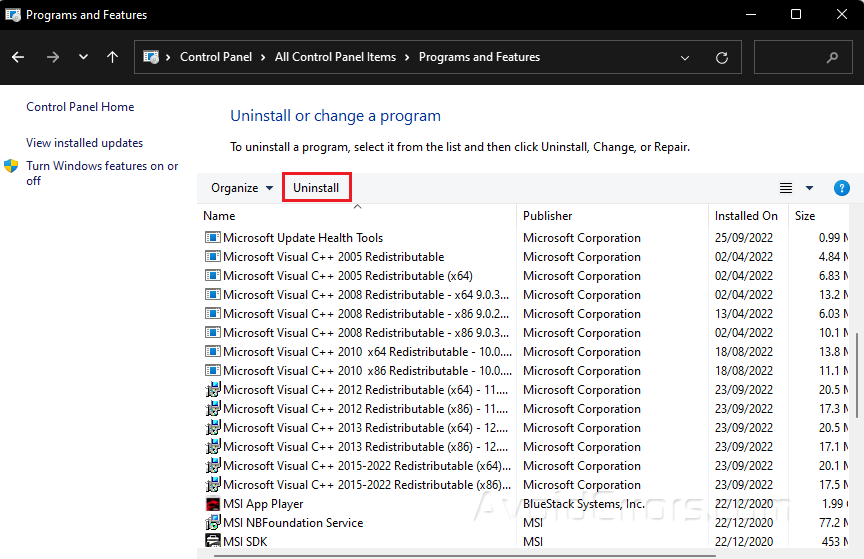
Right click on the Anti-Virus and Select Uninstall.
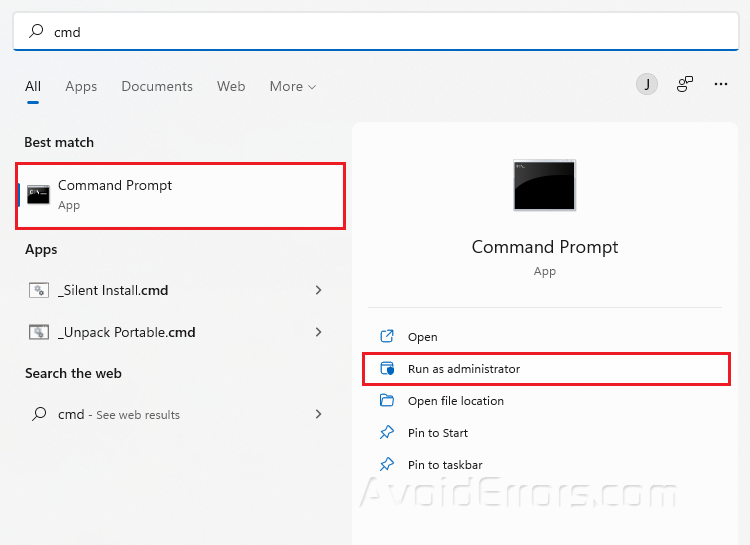
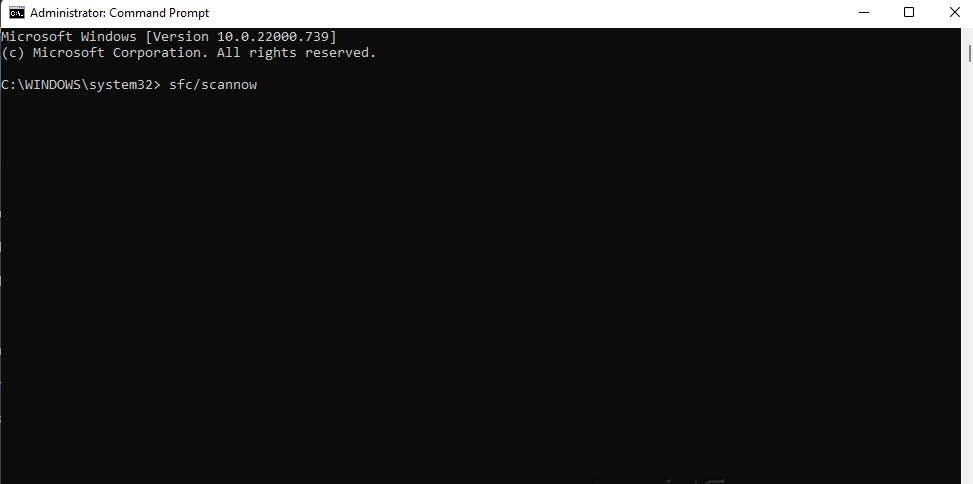
Run SFC
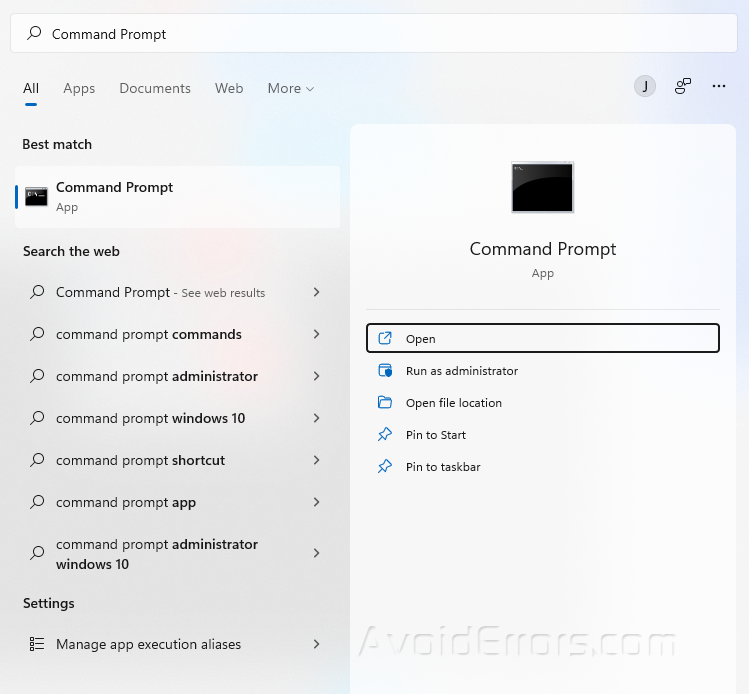
Type cmd in your Windows search bar and select Run as Administrator.
Type sfc/scannow and press Enter.
Restart your PC.
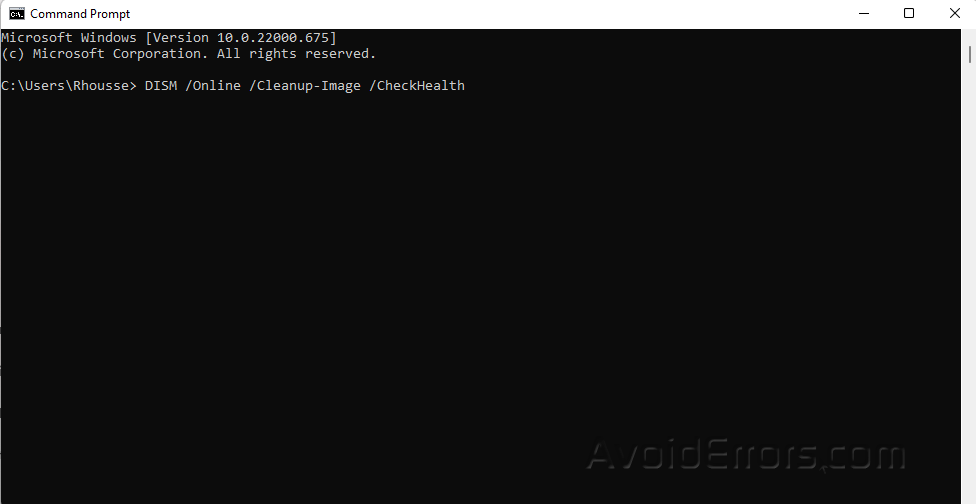
Run the DISM tool
Type Terminal on your Windows search bar and select Run as Administrator.
Copy and paste the following three commands one at a time and hit Enter after each:
DISM /Online /Cleanup-Image /CheckHealth
DISM /Online /Cleanup-Image /ScanHealth
DISM /Online /Cleanup-Image /RestoreHealth
Restart your PC and check if the error is resolved. Proceed to next step if not.


