How to Change Default Microphone in Windows 11
Windows 11 comes with few advancements but normally most of the things are somewhere similar like Windows 10. You can attach multiple microphones with your computer. But during meetings you can only use your default microphone.
In this article I will explain how we can setup default microphone in Windows 11.
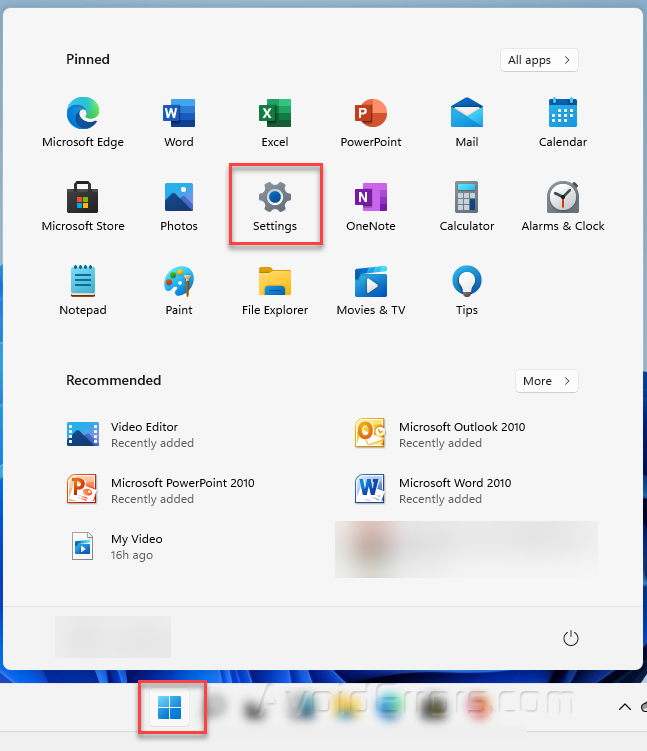
Click on Windows Start Menu and then click on Settings.
 .
.
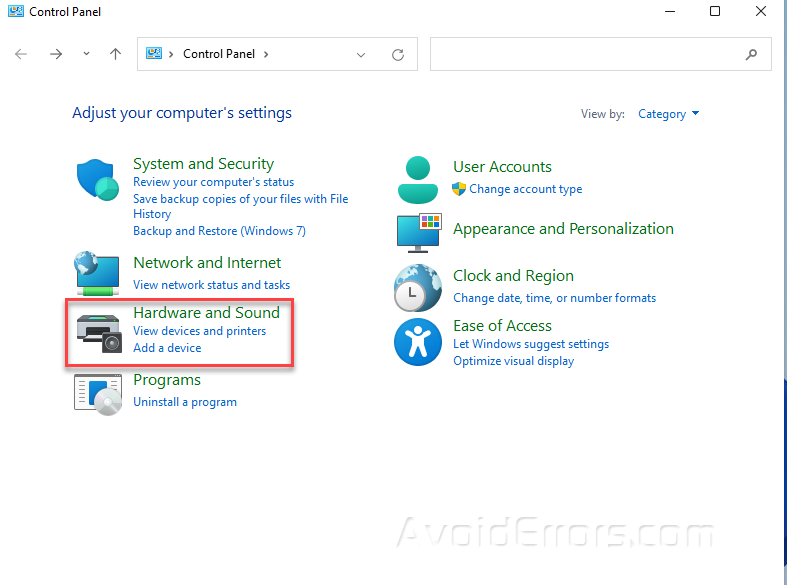
Now Click on the Hardware & Sound.
Next, scroll down a bit and click the “Sound”

Now choose the audio output you want to set as a default by clicking “Set default”

Now move to the “Recording” tab and choose the microphone, then click “Set default” then click ok.

Alright, now your required microphone has been set to default.


