How to Change Your Time Zone on Windows 11
By default, Windows 11 will automatically fix your PC’s time zone based on your location data; however, if you have location settings turned off, you can set your time zone manually as well. Here’s how. First, all you need is to launch the Windows Settings.
To do so, click on the Windows Start Menu and search for Settings, and open the results.
Change Your Time Zone on Windows 11
Or you can use keyboard shortcuts Windows+i to do so quickly.
Or you can right-click on the Windows Start button and select “settings,” and the Settings window will open immediately.

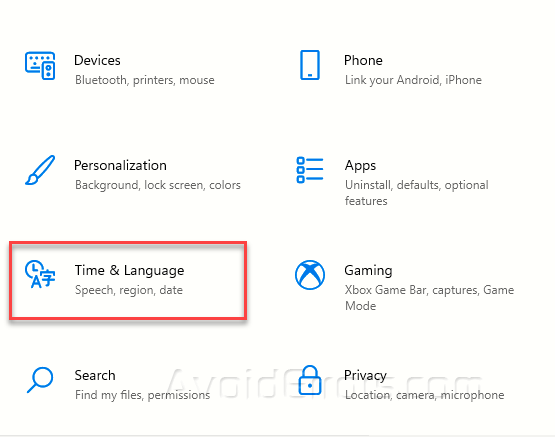
Once you get to the Windows Settings, select “Time & Language.”
Now in the sidebar, select “Date & Time.” Once you get to the Date & Time settings, scroll down a bit and toggle the switch right behind the “Set Time Zone Automatically” to “Off.”
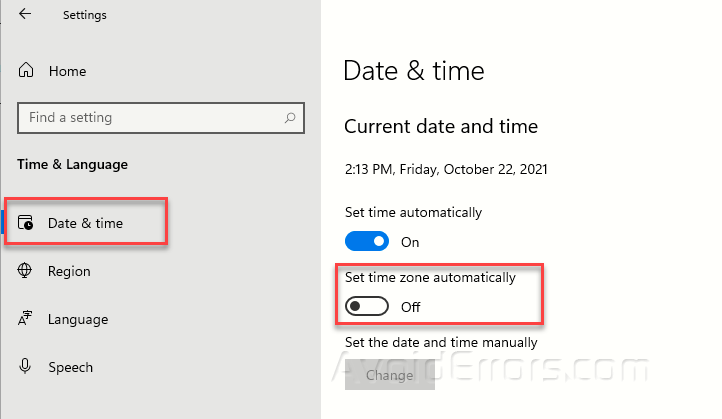
If the option is greyed out, it’s because your privacy settings don’t allow your PC to share location information with Microsoft. In this case, you don’t need to turn it off because this option is already set to “Off.”
Next, scroll down a bit in the “Date & Time” section until you see the “Time Zone” option. Click the drop-down menu right behind it and select the time zone you’d like to use.

Once you are done, close the Settings, and you’re ready to go.
If you ever need to change your time zone manually, revisit the Settings and adjust it in Time & Language and the Date & Time section.
Or, if you’d like your Windows 11 Pc to set your time zone automatically, enable the “Set Time Zone Automatically” option.


