How to Fix the “Windows Installer Service Could Not Be Accessed” Error While Installing an Application
You might get the “Windows Installer Service could not be accessed” error when you try to install apps on a Windows PC.
There are many things that can cause this error, such as not enough permissions, generic bugs, or a broken Windows Installer Service.
You can easily fix this error message, which is good news. Follow the steps below to fix the problem and keep installing the programs you like.
Restart Your System
Start with the most effective way to fix a problem: restarting the system. It turns out that a temporary glitch in the system can cause the installation of the app to fail.
In most of these situations, restarting the system can fix the problem. So, you might want to restart your computer and then reinstall the app. If this doesn’t solve the problem, move on to the next one.
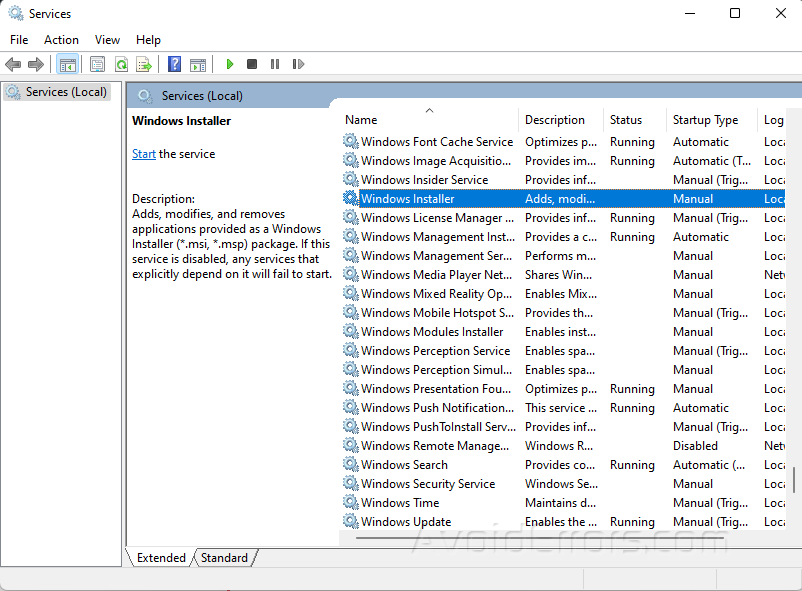
Enable the Windows Installer Service
Press Win + R to open Run dialog.
Type service.msc and press Enter.

Locate and double-click on Windows Installer.

Under the General tab, click on Start under Service status.
Click on OK.

Download the Latest OS Update
Press Win + I to open Settings.
Click on Windows Update and select Check for updates.

Run the Program Install and Uninstall Troubleshooter
Open your preferred browser and go to Troubleshooter download page.
Click on the download button.

Click the downloaded file to start the installation.
Click on next when a window pops up and choose whether you are having problems in installing or uninstalling the program.

Click on the application that is causing the problem.
If it is not on the list, choose the Not Listed option.

Click Next.


