How to scan a document with iPhone or iPad
Apple provides its users with better features and a smoother user interface with every new update. One recent but “not-so-recent” feature is the in-built scanners on iPhones and iPads introduced in 2017.
Gone are the days when you’d need a fancy printer or a special scanner app to scan documents or photos. Now, every iOS 11 or later has an embedded scanner in the Note App, making it easy to use a scanner on the go, converting physical documents or photos to digital form.
If you haven’t discovered this feature or don’t know how to use it, you are in the right place. Here, we’ll show you how to use the scanner and some tips to help you get the best results.
iPhone and iPad Hacks; How to Scan a Document or Photo Without a Scanner
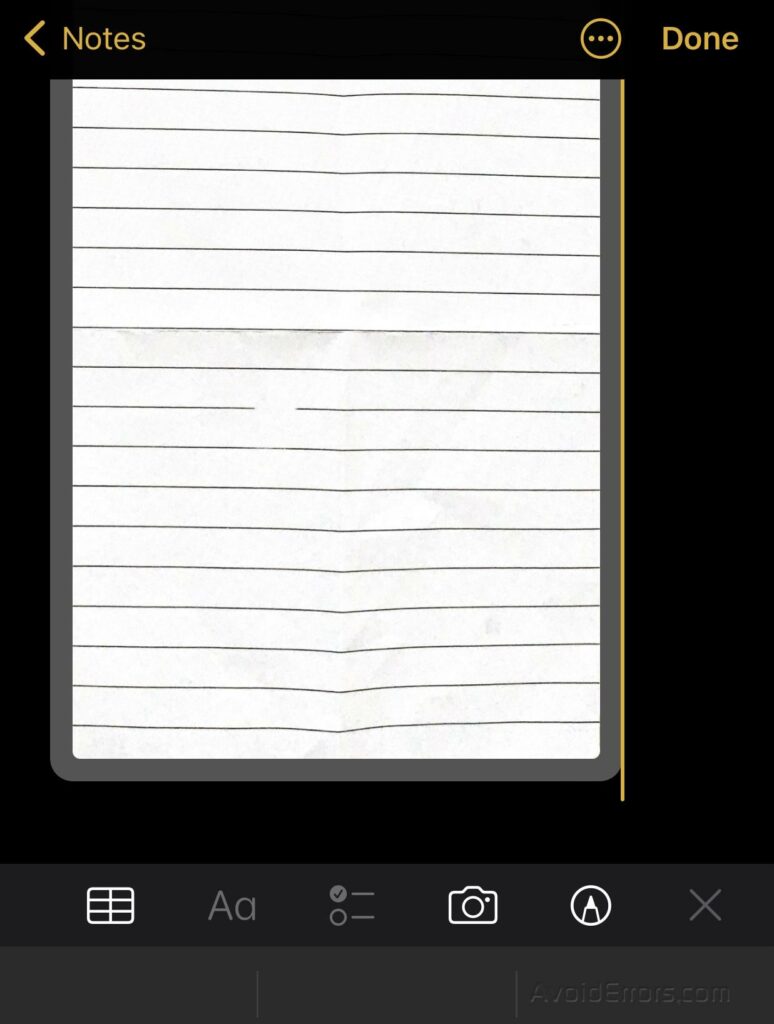
Launch the Note App. Then, open an already existing note. Or, Tap the square with an embedded pen at the lower right corner of the screen to create a new note.


Next, select the camera icon and tap “Scan Documents.”

Then, position your document and camera; ensure it is properly aligned to get better results.
Next, tap the Shutter button or any volume button to capture. If your iPhone is in auto mode, you may not need to do this: it will scan automatically.

After capturing, a box with circles at its corners will surround the scanned document.
Now, drag the circles at the corners to merge or meet the edges of your document or photo; crop it.
Once this is done, select “Keep Scan.” Then, select “Retake” and repeat the process if you aren’t satisfied.

Then tap “Save” or take another if you want to scan more than one document or photo. (If your phone is in auto mode, select “Save” immediately after scanning.)
Lastly, click “Done” to save the note.
Tips:
- Ensure there’s good lighting while doing this
- To get a good result, crop the document carefully.
- You can send or save the scanned document somewhere else by tapping on it and selecting the send icon in the upper right corner.
- You can sign scanned documents.


