Install and Configure Next cloud Ubuntu 16.04
Next Cloud, the next generation open source Enterprise File Sync and Share was started by ownCloud inventor Frank Karlitschek and a dozen experienced open source entrepreneurs and engineers to empower users to take back control over their data and communication.
Next cloud gives organizations fine-grained control over data access, facilitates file synchronization and sharing across devices, enables collaboration within and across organizational boundaries and lets users communicate through secure audio and video conferencing.
With tutorial, you will learn how you can install and configure “Next cloud” on Ubuntu 16.04 Linux Server.
1. At the first, you have to update all your system packages by the command below.
sudo apt-get update

2. You need to install LAMP stack, if you didn’t install it, use the below command to install.
sudo apt-get install lamp-server^

Type “Y” and press Enter to continue.
3. Provide a password for the root user of MySQL.

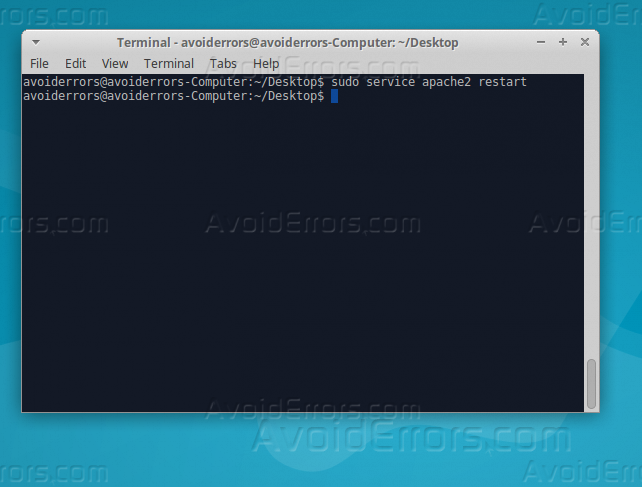
4. Restart Apache server so changes take effect, use the below command to restart Apache2.
sudo service apache2 restart
5. Configure database for Next Cloud by the below command.
sudo mysql_secure_installation

6. Follow the requirements as below.
Enter current password for root (enter for none):
Change the root password? [Y/n] n
Remove annoys users? [Y/n] Y
Disallow root login remotely? [Y/n] Y
Remove test database and access to it? [Y/n] Y
Reload privilege tables now? [Y/n] Y

7. Log in SQL database, and create a database for Next Cloud, using the below commands.
mysql -u root -p

8. Create a database for Next Cloud by the below command.
CREATE DATABASE nextclouddb;

9. Create a separate user account that will be able to interact with Next Cloud database, use the below command and don’t forget to replace your password instead of “123456”.
GRANT ALL ON nextcloud.* to ‘nextcloud’@’localhost’ IDENTIFIED BY ‘123456’;

Install and configure Next Cloud.
After you had configured the database for Next Cloud, its time to download and install the application, follow the below steps.
1. Download Next Cloud by running the below two commands.
cd /tmp
sudo curl -LO https://download.nextcloud.com/server/releases/nextcloud-10.0.1.tar.bz2
sudo curl -LO https://download.nextcloud.com/server/releases/nextcloud-10.0.1.tar.bz2.sha256

2. Now use the below command to calc the hash for the “.tar.bz2” file and compare it to the checksum value in the .sha256 file.
shasum -a 256 -c nextcloud-10.0.1.tar.bz2.sha256 < nextcloud-10.0.1.tar.bz2

3. It’s safe to delete the “.sha256” file now, delete by the below command.
sudo rm nextcloud-10.0.1.tar.bz2.sha256
4. You can safely now install Next Cloud through the below command.
sudo tar -C /var/www -xvjf /tmp/nextcloud-10.0.1.tar.bz2

5. Edit the distro file to set the permission by pasting the below script, and then save and exit the file.
sudo nano /tmp/nextcloud.sh
SCRIPT START FROM THE NEXT LINE
#!/bin/bash
ocpath=’/var/www/nextcloud’
htuser=’www-data’
htgroup=’www-data’
rootuser=’root’
printf “Creating possible missing Directories\n”
mkdir -p $ocpath/data
mkdir -p $ocpath/assets
mkdir -p $ocpath/updater
printf “chmod Files and Directories\n”
find ${ocpath}/ -type f -print0 | xargs -0 chmod 0640
find ${ocpath}/ -type d -print0 | xargs -0 chmod 0750
chmod 755 ${ocpath}
printf “chown Directories\n”
chown -R ${rootuser}:${htgroup} ${ocpath}/
chown -R ${htuser}:${htgroup} ${ocpath}/apps/
chown -R ${htuser}:${htgroup} ${ocpath}/assets/
chown -R ${htuser}:${htgroup} ${ocpath}/config/
chown -R ${htuser}:${htgroup} ${ocpath}/data/
chown -R ${htuser}:${htgroup} ${ocpath}/themes/
chown -R ${htuser}:${htgroup} ${ocpath}/updater/
chmod +x ${ocpath}/occ
printf “chmod/chown .htaccess\n”
if [ -f ${ocpath}/.htaccess ]
then
chmod 0644 ${ocpath}/.htaccess
chown ${rootuser}:${htgroup} ${ocpath}/.htaccess
fi
if [ -f ${ocpath}/data/.htaccess ]
then
chmod 0644 ${ocpath}/data/.htaccess
chown ${rootuser}:${htgroup} ${ocpath}/data/.htaccess
fi

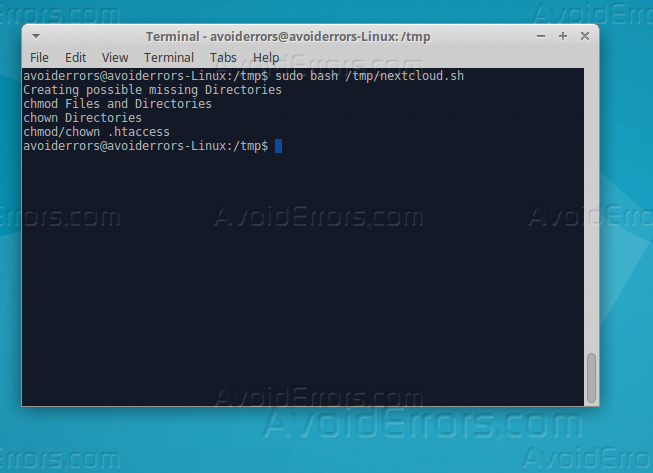
6. Run the script by the below command.
sudo bash /tmp/nextcloud.sh
7. Edit the site configuration file by the below command, and then paste the BOLD lines.
sudo nano /etc/apache2/sites-available/nextcloud.conf
/etc/apache2/sites-available/nextcloud.conf
Alias /nextcloud “/var/www/nextcloud/”
Options +FollowSymlinks
AllowOverride All
Dav off
SetEnv HOME /var/www/nextcloud
SetEnv HTTP_HOME /var/www/nextcloud

8. Use the “a2ensite” command to enable the site.
sudo a2ensite nextcloud

9. Open your web browser and enter your IP address following by “/nextcloud”.

Summary
After this tutorial you should be able to install and configure Next Cloud on Ubuntu Linux Server 16.04.


