How To Install Discourse on Ubuntu 16.04
Discourse is the 100% open source discussion platform built for the next decade of the Internet. Use it as a mailing list, discussion forum, long-form chat room, and more!
In this tutorial, we are going to explore our Linux and install Discourse step by step.
Install Discourse on Ubuntu
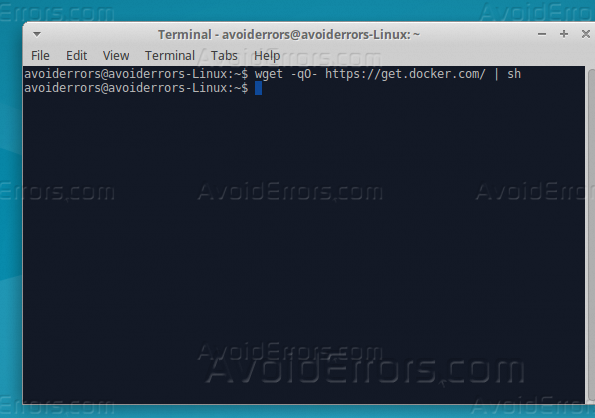
1. Open “Terminal, and run the below command to get “Docker” as it’s an important app to run “Discourse”.
wget -qO- https://get.docker.com/ | sh
2. Now create a directory for “Discourse” inside /var partition of your hard drive, using the below command.
sudo mkdir /var/discourse

3. Clone the Discourse repository to the new created directory, using below command.
sudo git clone https://github.com/discourse/discourse_docker.git /var/discourse

4. Navigate with “Terminal”, to the cloned directory by this command “cd /var/discourse“.

5. Now you can start the installation process by Discourse script, just run the below command on “Terminal”.
sudo ./discourse-setup

This is a warning if you have less than 2GB of ram, as I am working on virtual environment I will increase the RAM memory.
6. Installation wizard will ask you following six questions.
Hostname for your Discourse:
E-mail address for admin account:
SMTP server address:
SMTP user name:
SMTP port [587]:
SMTP password? [Your Email Password]:

7. Once you fill all the information required, hit Enter, and the installation process will start, just watch it.

8. Now open your web browser, if the hostname for discourse installation resolves properly to IP, then you can use your hostname in your web browser, if not use your IP address to open the Discourse page, It should be looking like below.

9. You can create a new account by clicking “Sign up”, and fill the required data for creating the account.

And now we are done with installing Discourse.
Summary
It is very easy to setup application and works flawlessly. It is equipped with all required features of modern day discussion board. It is available under General Public License and is 100% open source product. The simplicity, ease of use, powerful and long feature list are the most important feathers of this tool.


