How To Install Linux, Apache, MySQL, PHP (LAMP) stack on Ubuntu 16.04
A “LAMP” stack is a group of open source software that is typically installed together to enable a server to host dynamic websites and web apps. This term is actually an acronym which represents the Linux operating system, with the Apache web server.
The site data is stored in a MySQL database, and dynamic content is processed by PHP.
With this tutorial, you are going to learn how to install LAMP stack, and for sure we already installed Linux before, if you hadn’t you can learn how to install it from HERE.
Install Apache
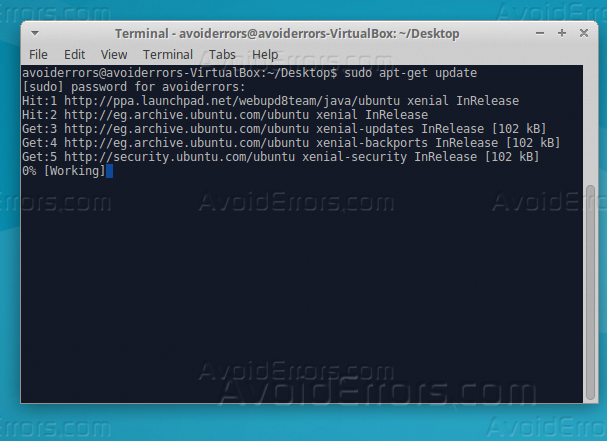
1. Run the below 2 commands on “Terminal” to update packages and install apache2.
sudo apt-get update
sudo apt-get install apache2

Type “Y” and press Enter to continue.
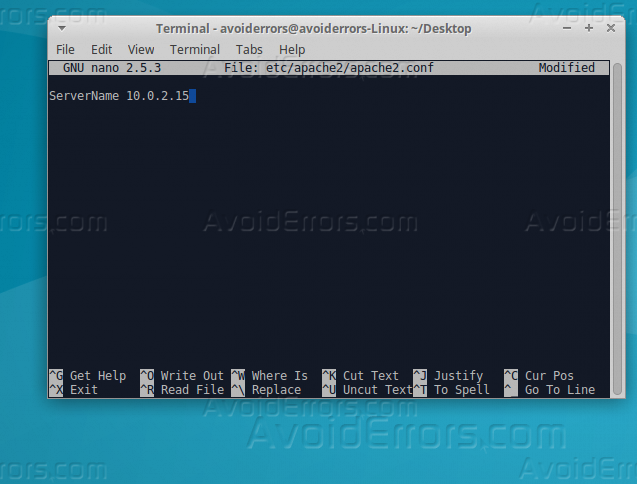
2. Set server name for Apache, open the config file using the below command and write “ServerName (server_domain_or_IP)”.
sudo nano /etc/apache2/apache2.conf
3. Now your server is set and working, you can try to log to it through your web browser.

4. It’s time now to secure it and adjust firewall to allow web traffic, write the below code on “Terminal”.
sudo ufw app list

5. If you look at the profile, it should show that it enables traffic to ports 80 and 443, do that through the below 2 commands.
sudo ufw app info Apache full
sudo ufw allow in "Apache Full"

6. Now Apache is fully installed and secured.
Install MySQL
1. Run this command on Terminal, to begin the installation of MySQL,
sudo apt-get install mysql-server

press “Y” and hit Enter to continue.
2. Enter a password for your SQL server.

3. The download package is ready now for the installation, start it with below command, and write the password you had set, and follow the instructions.
mysql_secure_installation

Now SQL is installed, let’s move to the next step.
Install PHP
PHP is the component of our setup that will process code to display dynamic content. It can run scripts, connect to our MySQL databases to get information and hand the processed content over to our web server to display.
1. First, install PHP through the “Terminal”, using the below code.
sudo apt-get install php libapache2-mod-php php-mcrypt php-mysql

type “Y” and click Enter to proceed.
2. Now we need to modify the way that Apache serves files when a directory is requested, and to do this run the below command on terminal.
sudo nano /etc/apache2/mods-enabled/dir.conf

3. Edit the text to be like below, and save it
<IfModule mod_dir.c>
         DirectoryIndex index.php index.html index.cgi index.pl index.xhtml index.htm
</IfModule>
4. Time to restart Apache server, so changes can take effect, restart it using the below command.
sudo systemctl restart apache2

5. Now check the status of Apache2 service, using the below code.
sudo systemctl status apache2

Installing PHP Modules
1. To enhance your PHP service, we need to install additional modules, to check the available modules of PHP, through the command below.
apt-cache search php- | less

2. For example, let’s install module “PHP-CLI”, we need to see what it contain so we will run it like below on “Terminal”.
apt-cache show php-cli

3. Time to install the module, we will run it on “Terminal” like below.
sudo apt-get install php-cli

4. You are done now with installing modules and LAMP stack, let’s do our final steps to test PHP through the browser.
Test PHP On Web Server
1. To make sure that everything is right configured, “AvoidErrors Team” had created a very basic PHP script, it must be saved on specific folder called “Web root”.
2. In current linux that we are using “Ubuntu 16.04”, this folder “Web root” is located on “/var/www/html/”.
3. Open the file location or create it usinf the below command on “Terminal”.
sudo nano /var/www/html/info.php

4. Copy the below text and paste it into the nano editor, and save it.
<?php
phpinfo();
?>
5. Now let’s open our php server with Internet browser by typing IP address of the server following by “info.php”.

If this was successful, then your PHP is working as expected.


