How to Install & Setup RabbitMQ Server on Ubuntu 17.04
RabbitMQ is open source message broker software (sometimes called message-oriented middleware) that implements the Advanced Message Queuing Protocol (AMQP). The RabbitMQ server is written in the Erlang programming language and is built on the Open Telecom Platform framework for clustering and failover.
Client libraries to interface with the broker are available for all major programming languages.
The Rabbitmq message broker system came with a lot of features some of them are listed below:
- Supports multiple protocols such as MQTT, STOMP and HTTP.
- Supports routing capabilities, you can implement rules to route messages between exchanges and queues.
- Supports multiple programming languages with a variety of supported clients.
- Supports clustering, so you can cluster several RabbitMQ servers on a local network.
- Supports high availability, so if a broker fails then communication will be redirected to different broker instance.
- Provides a user-friendly web interface to monitor and control every aspect of your message broker.
- In this guide, you will learn how to install RabbitMQ on Ubuntu 17.04 server.
Install RabbitMQ
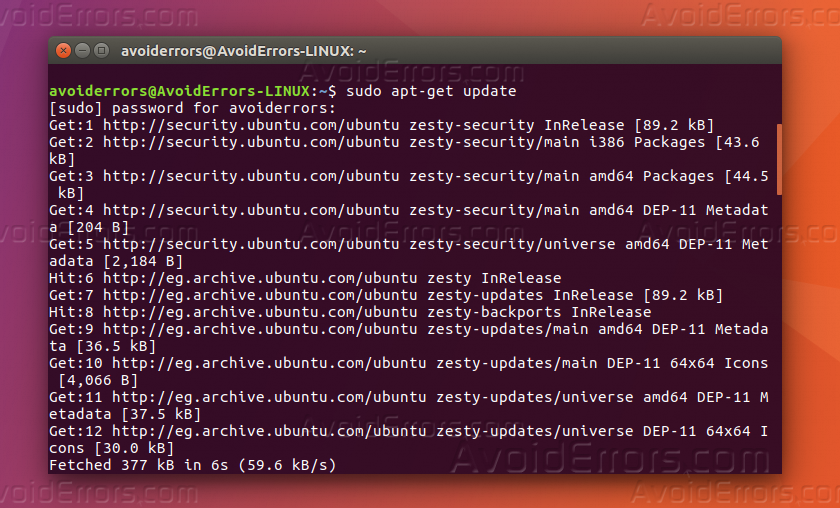
1. First of all, you have to update your Linux system packages, use the command “sudo apt-get update”.
1. After updating the packages, install “Erlang” as it’s prerequisites of “RabbitMQ”, you can install it by the below commands.
sudo wget http://packages.erlang-solutions.com/ubuntu/erlang_solutions.asc
sudo apt-key add erlang_solutions.asc

sudo apt-get install erlang

Type “Y” and press Enter to continue
sudo apt-get install erlang-nox

2. Now you can install “RabbitMQ”, but first you have to add it to repository sources list, do that by the below command.
sudo echo “deb http://www.rabbitmq.com/debian/ testing main” >> sudo /etc/apt/sources.list

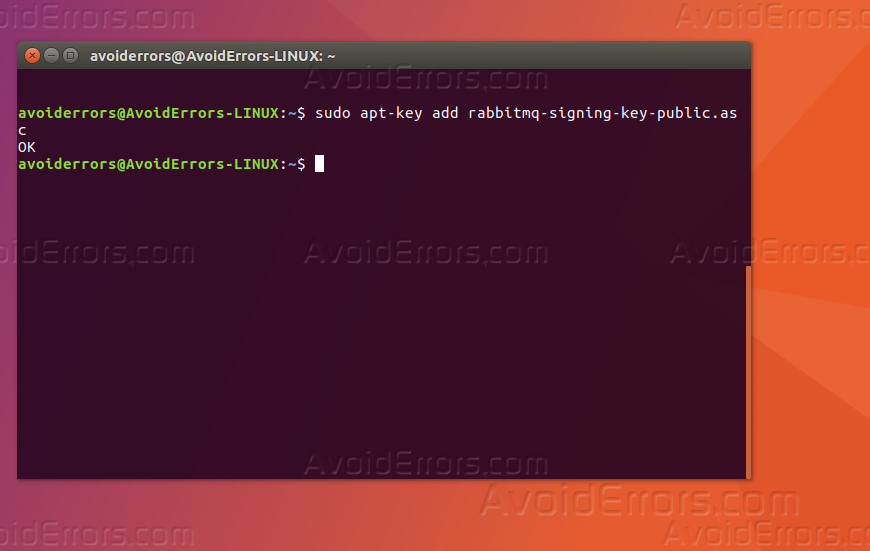
3. After finishing the repository step, add the public key to the trusted keys to avoid any errors about unsigned packages, add it by the below commands.
wget https://www.rabbitmq.com/rabbitmq-signing-key-public.asc

sudo apt-key add rabbitmq-signing-key-public.asc
4. Now re-update packages so the repository be up to date, by the command “sudo apt-get update”.
5. After updating the packages, install “RabbitMQ” server by the below command.
sudo apt-get install rabbitmq-server

6. Run the below commands to start “RabbitMQ” server on boot.
sudo systemctl start rabbitmq-server
sudo systemctl enable rabbitmq-server

Allow RabbitMQ through FireWall
1. First enable your firewall by the below command.
sudo ufw enable

2. Allow “RabbitMQ” port, usually it works through port: 15672, enable it by the below command.
sudo ufw allow 15672

3. Open your web browser and write your local IP address following by “:15672”, and “RabbitMQ” will start with you, use the below default admin & password.
Username: radmin
Password: radmin

Summary
In this tutorial, you have learn how to install RabbitMQ server on Ubuntu 17.04 server, if you have any inquiry please comment it below and one of “AvoidErrors” team will answer you ASAP.


