How To Install Webmin on Ubuntu 16.04
Webmin is a modern, web control panel for any LinuxOS, It enables you to administer your Linux server through a simple interface. With Webmin, you can change settings for common packages on a blink of an eye.
In this tutorial, you’ll learn how to deploy and configure Webmin on your Linux server and secure access to the interface with a valid certificate using “Let’s Encrypt”, You’ll also use Webmin to add new user accounts and update all packages on your Linux server from the dashboard, now let’s install Webmin step by step.
Install Webmin
1. Open “Terminal”, and write the following command, if it to prompt for your password, Enter it and the below screen will show to you.
“sudo nano /etc/apt/sources.list”

2. Add the below line inside the nano editor, and save it, just like below image.
“deb http://download.webmin.com/download/repository sarge contrib”

3. Now, let’s add Webmin to “PGP” key, so your Linux can trust the new repository, write the following codes on Terminal.
“wget http://www.webmin.com/jcameron-key.asc”
“sudo apt-key add jcameron-key.asc“

4. Update the list of packages to include “Webmin”, run the following code on “Terminal”.
“sudo apt-get update”

5. Open “Terminal”, and write down the following code to install “Webmin”.
“sudo apt-get install webmin”
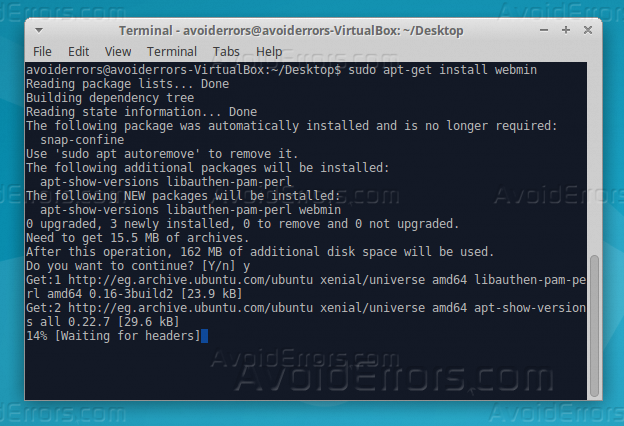
6. Once the installation is done, you will see the following, please copy this information from your “Terminal”, and save it as you will use it later.

7. Access your “Webmin”, through your browser enter your IP address following by :10000, for example 1.x.x.1:1000, and use “root” as your user and password.

**PLEASE NOTE**: if the web browser didn’t open the Webmin, there are no worries that are because it’s unsecured access, it’s opened up there because I had made an exception for it.
Add valid certificate for your Webmin by “Let’s Encrypt”
Webmin is configured to use “HTTPS”, but it uses a self-signed, untrusted certificate, Let’s replace it with a valid certificate from “Let’s Encrypt”.
1. Before we install the certificate we need to identify a hostname for Webmin, click on System Host name on webmin after you logged.

2. Set your Webmin hostname, as it shown below, and click “Save” after that.

3. After you had set your Webmin hostname, click on “Webmin Configuration”.

4. select from the icons that it will show to you “SSL Encryption”.

5. From the tabs, click on “Let’s Encrypt” tab, and write your Webmin hostname, as for “Website root directory for validation file”, select “Other Directory” and write “/var/www/html”.

6. Click “Request Certificate”, After a few seconds, you will see a confirmation screen.
7. To use the certificate you should restart your “Webmin” server, from “Webmin Configuration” tab, scroll down and click on “Restart Webmin”.

Now you set up a secured, working Webmin server, ENJOY!.


