Fix .net Framework 3.5 Missing on Windows 11
The.NET Framework is an important part of many programs that run on Windows. This feature gives these apps the functionality they need to work properly. Before installing these apps, it makes sense to turn on our computer’s.NET Framework.
Dot NET Framework 3.5 is an important part of Windows, and if you don’t have it, you might have trouble with certain things.
When users talked about.NET Framework, they said the following problems:
Microsoft Dot NET Framework 3.5 offline installer – To install Dot NET Framework 3.5, you need to be connected to the Internet. You can also use the offline installer to install this framework.
NET Framework 3.5 error 0x800f0906, 0x800f0922, 0x800f081f – There may be times when you can’t install.NET Framework because of errors. In one of our older articles, we talked about the most common.NET Framework 3.5 errors, so check it out.
Dot NET Framework 3.5 The following feature couldn’t be installed, The source files could not be found – Because of these errors, you may not be able to install.NET Framework. But maybe one of our solutions will help you solve that problem.
.NET Framework 3.5 unable to install – You might not be able to install NET Framework at all in some situations. This is likely caused by your settings or files that are broken, but it’s easy to fix.
Fix .net Framework 3.5 Missing on Windows 11
Press Win + R and enter appwiz.cpl.
Press OK.

Click “Turn windows on or off”

Look for .NET Framework 3.5 (includes .NET 2.0 and 3.0) to enable it and press OK

Complete the Installation and Restart your Computer.
Install .NET Framework 3.5 on-demand
A prompt to install the .NET Framework 3.5 on demand will be shown during the installation wizard if a specific app needs it but this functionality isn’t enabled on your PC.
Select “Install.NET Framework 3.5” from the menu. Your computer will automatically install.NET Framework 3.5.
Update any outdated software, then try again
Press Win + I and look for Windows Update.
If there are any updates available, click on Install now.
Now, Windows 11 will look for updates and download them silently in the background.

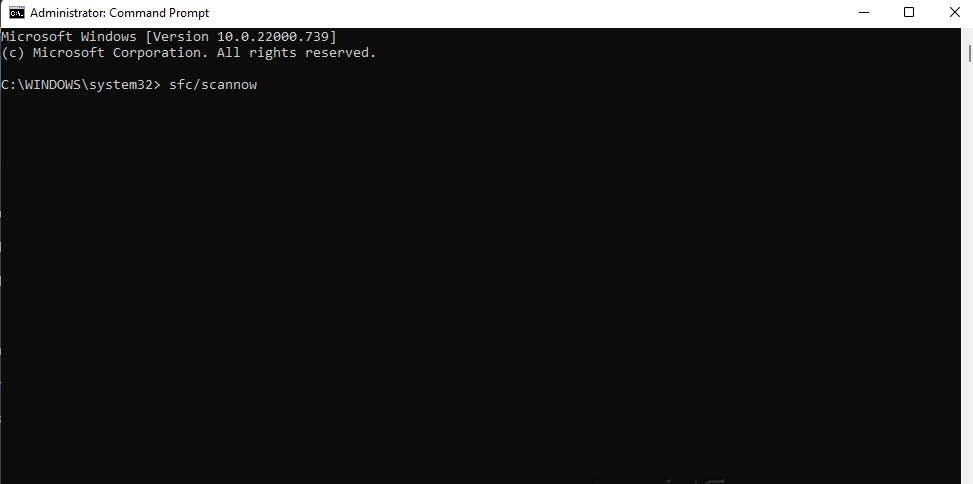
Perform an SFC scan
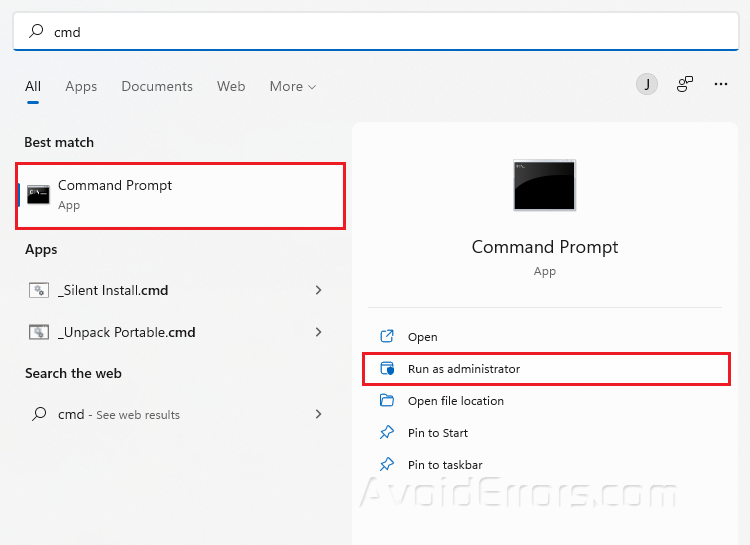
Type cmd in your Windows search bar and select Run as Administrator.
Type sfc/scannow and press Enter.
Restart your PC.
Run the DISM tool
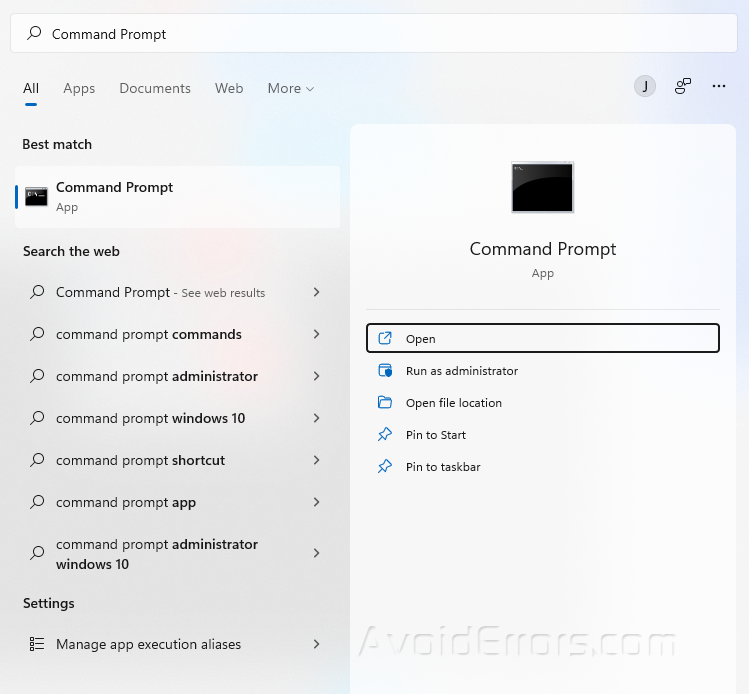
Type Terminal on your Windows search bar and select Run as Administrator.
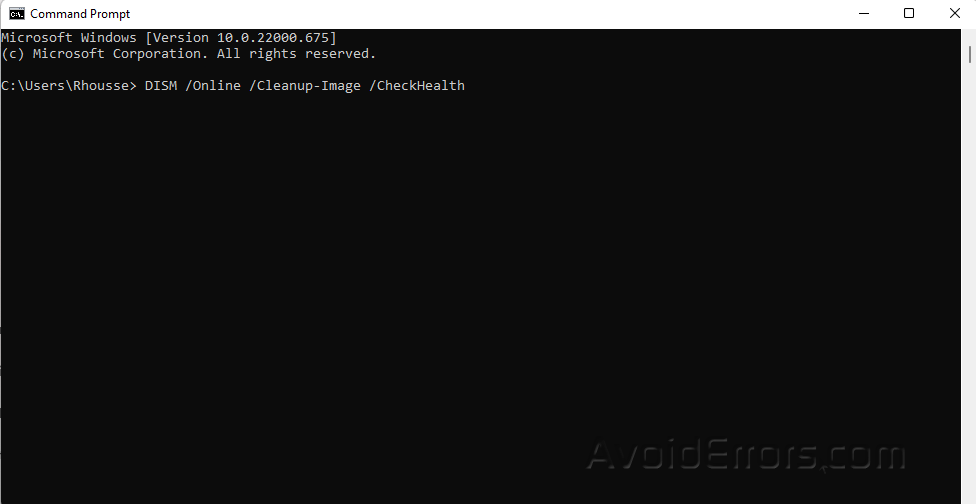
Copy and paste the following three commands one at a time and hit Enter after each:
DISM /Online /Cleanup-Image /CheckHealth
DISM /Online /Cleanup-Image /ScanHealth
DISM /Online /Cleanup-Image /RestoreHealth
Restart your PC and check if the error is resolved. Proceed to next step if not.
Use the lodctr command
Type in CMD in your Windows search bar and select Run as an Administrator.

Type in “lodctr/ r” and press Enter.

Check your Action Center
Type Control Panel in your Windows search bar and select Open.

Look for System and Security and press on Review your computer’s status.

Now, If there are any warnings, make sure to resolve it!


