Migrate Your Company Email to Office 365-Exchange Online
This tutorial helps you migrate to Office 365 (Exchange Online) for business owners or individuals who want to effectively sync contacts, calendar, and emails with all devices.
1. Create an account with Office 365 (Exchange Online).
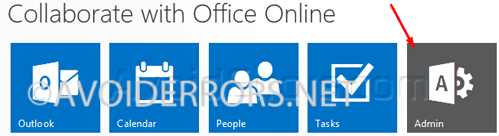
2. Once the account has been set up make sure to write down your password, then go to the admin panel. ( while in the setup process you’ll need to enter an onmicrosoft.com ID, don’t mind that for we can change it later).
3. Once your account has been set up, head over to the admin panel.
Video Tutorial:
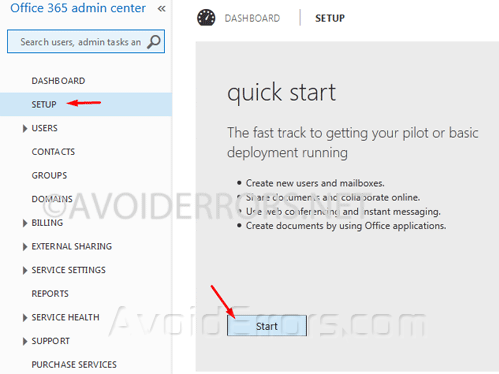
4. Click on SETUP from the left pane and on the right click start under quick start.
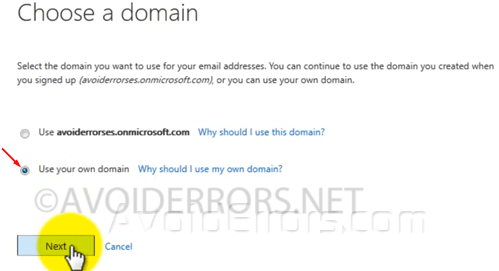
5. If you don’t have a domain E-mail address ie. “[email protected]” you can continue to use the onmicrosoft.com account.
6. If you have a domain E-mail address then select use your own domain.
7. To migrate to Office 365 (Exchange Online) we need to complete two steps from the five listed. Step 1 and step 3. Step 2 and 4 are optional.
8. First we need to confirm ownership so click on “Specify a domain name and confirm ownership” link.

9. Now enter your domain ie. “yourdomain.com” as shown in the Example.
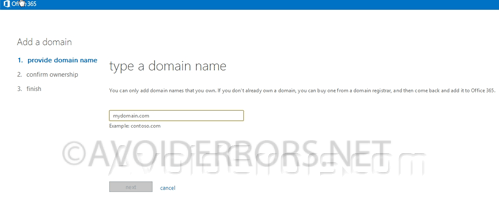
10. Once you enter your domain name it’ll look to see if it can auto add the confirmation TXT record to your domain DNS, if not then you would need to manually add the text record to your DNS to confirm ownership.
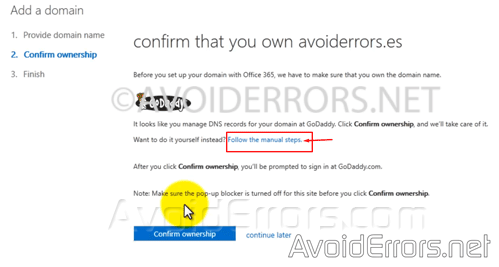
11. To manually add the confirmation TXT Record to your DNS you would have to select your hosting company from the drop-down box. By selecting your hosting company it’ll provide the steps to access and add the text records to the DNS.
Note: It might take about 24 to 48 hours to populate after you have added the TXT record..
12. Once you are done adding the text record click on Verify now button.

13. Once you have verified the ownership click finish and lets jump to step 3. Set the domain purpose and configure DNS.
14. Our purpose is to use Exchange Online to use our domain/Company email, so select Exchange Online and click on next.

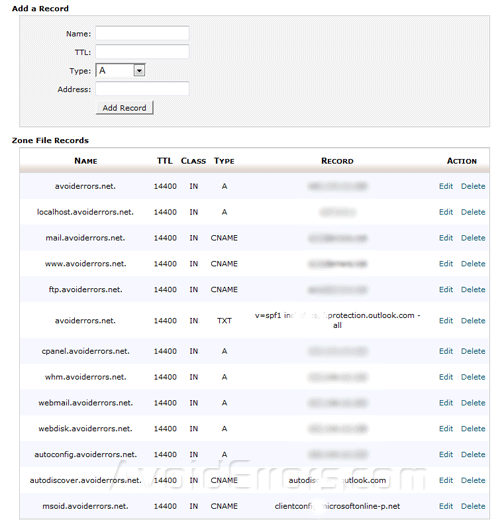
15. Now we need to add the following records to our DNS. If you click on the step by step instruction it’ll provide instruction on how to access and add these records to your DNS on your hosting provider. If your lucky you might be provided with a button to auto configure your DNS to add these records.
16. Once you have added the records click on Done, go check button.

This is an image sample of how it looks on host gator. All you need to do is copy and paste the DNS info given by Office 365 and add record that’s it.
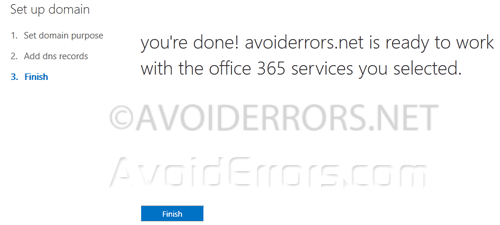
18. If everything is OK you should get this message:
19. Lets go to Step 2 this is optional. We can add users if in your company you have more than one user. Keep in mind you’ll need a license per user. Step 4 is for migrating your emails and contact from your old email service to this one.
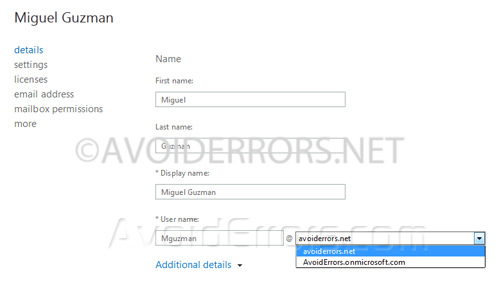
Now Lets change the User ID to be your domain and not onmicrosoft.com
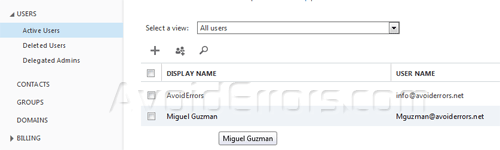
1. Go to the admin panel.
2. Select Active Users under Users.
3. Double click the User with the onmicrosoft.com e-mail.
4. Now select your domain from the @ dropdown and save.