Fix – OwnCloud is in Maintenance Mode After Upgrade
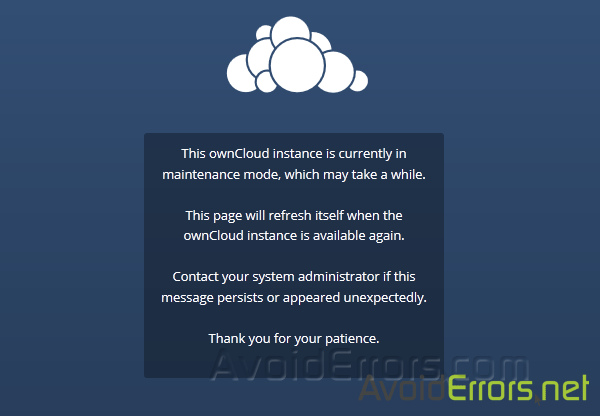
I’m running Ubuntu, I just updated my OwnCloud instance and after the install finished I opened the web GUI and it says, “This ownCloud instance is currently in maintenance mode, which may take a while”.
Here are 2 simple methods to disable maintenance mode:
Using OCC Command
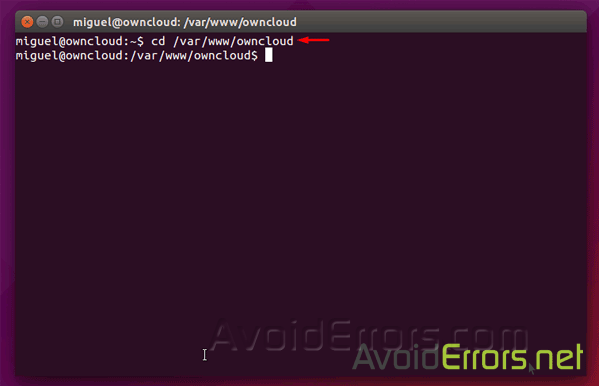
1. First change the directory to owncloud using the following command:
cd /var/www/owncloud
2. Once there run:
sudo -u www-data php occ maintenance:mode --off
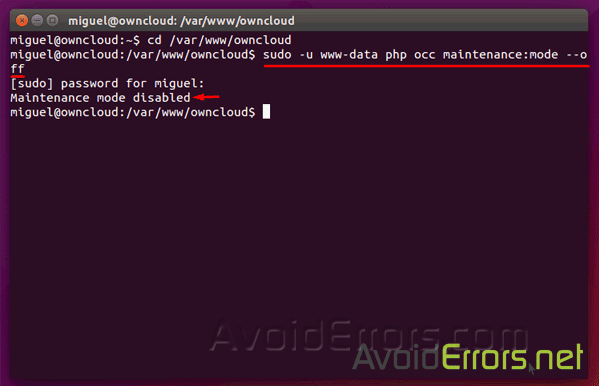
Done! that should disable maintenance mode.
Another option is editing the config.php here is how:
Edit the Config.php
In the terminal run:
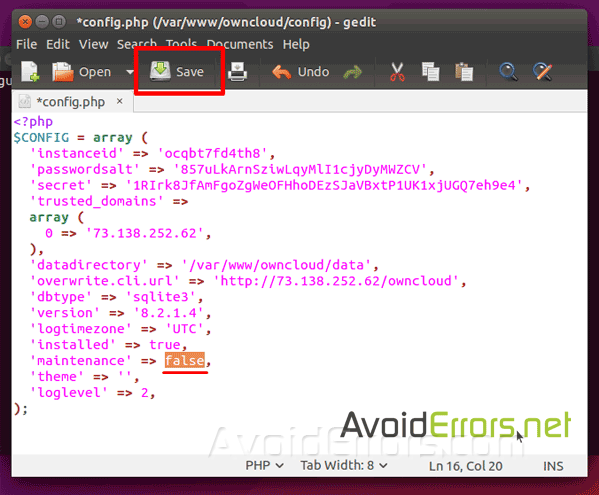
gksu gedit /var/www/owncloud/config/config.php
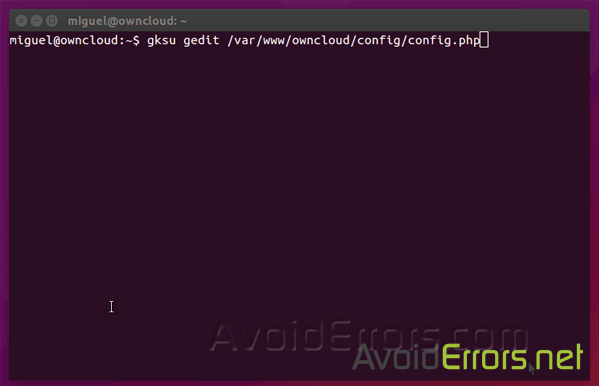
You’ll be prompted to enter admin password.

Now edit maintenance mode ==> false


In point 2/ above there is a slight typo – a hyphen is missing in command:
sudo -u www-data php occ maintenance:mode –off
It should read:
sudo -u www-data php occ maintenance:mode –off
Thank you for this fix, I really appreciate what you do on here 🙂
Thanks for noticing but I dont see a difference in the command you suggest and the one I wrote.
In case you don’t have SSH-access to your webserver or the server is not your own
1. Use FTP to get the file “config/config.php”
2. Change “maintenance” to “false”
3. Upload the new version of the file to the server