How to Change Time Synchronization Interval Windows PC
At times there comes a dire need to synchronize the need that your system corresponds and synchronizes with your clock of the system for multiple activities like back up, windows updating etc. It is important as the latest time will be displayed on your properties of the folders for reference.
The default interval is one week and there is no other to change the interval except for registry editor. The registry editor allows you to change the interval in the registries that will remain there permanently unless once again someone changes it. Let’s get started.
1. At the bottom right most corner of the desktop screen, click on the time and date icon and confirm if the clock is allowed for automatic updating.
2. Run the ‘regedit’ in search or run bar and all the registries of the system will open up.

3. Now, these are steps which involve clicking double times and sub-folders will go on opening. This allows requires to review each folder and finding the desired one.
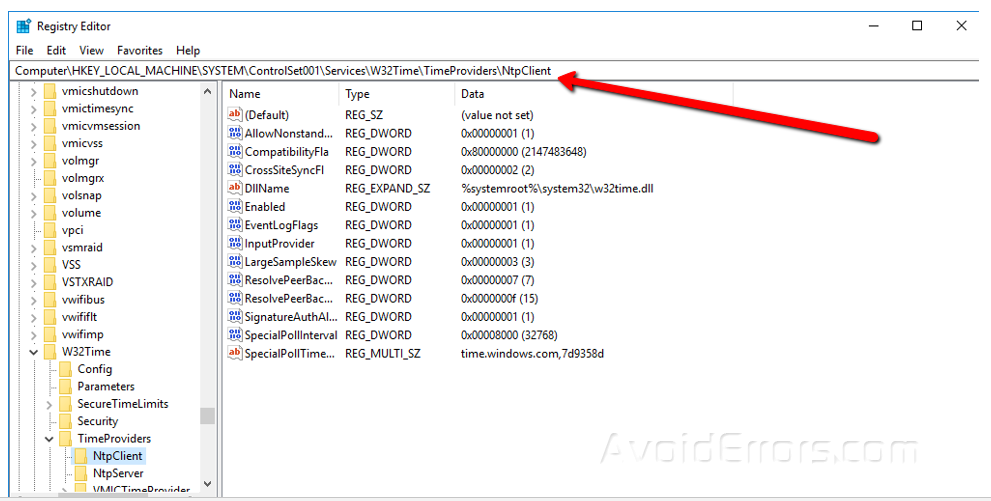
Click on HKEY_LOCAL_MACHINE then select SYSTEM then select ControlSet001 -> Services -> W32Time -> Time Providers -> NtpClient.
4. Now on the right window pane select the ‘special poll interval’.
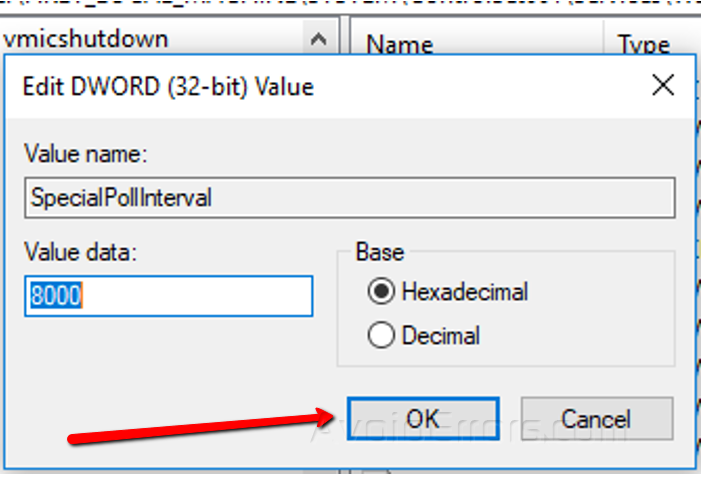
This is the required place where we need to a make change, note here that the time is mentioned in seconds. So before entering the value, you have to convert your required time interval in seconds, you can take help from a number of tools that are available on the internet. The Format remains hexadecimal.
5. Exit registry editor and restart your system again.
6. Go to time and date settings and synchronize your system.


