How to Install and Setup 3.5 inch Touch Screen on Raspberry Pi
If you are wondering how to install an LCD to Raspberry Pi, there are many versions of LCD’s for Raspberry Pi but the 3.5 LCD is the most popular and the cheapest one.
For tutorial to work you must have Raspbian Operating System installed on the Raspberry Pi. Install Raspbian Operating System on a Raspberry Pi
Video Tutorial:
Install LCD Display on Raspberry Pi
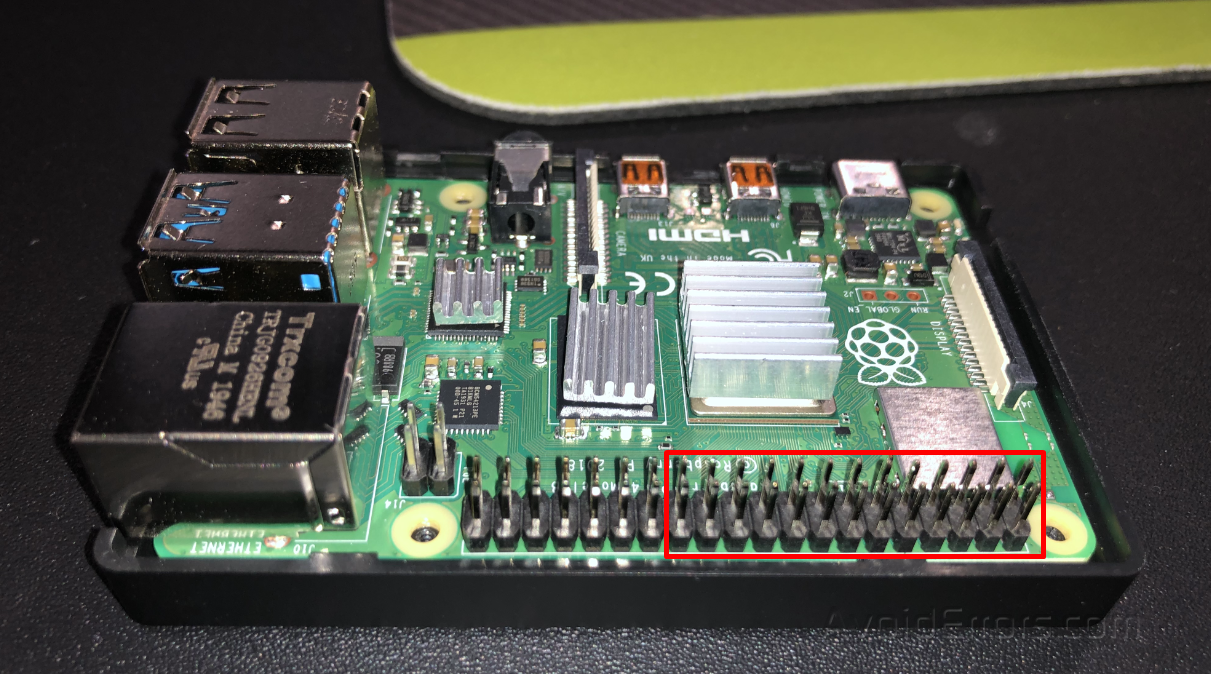
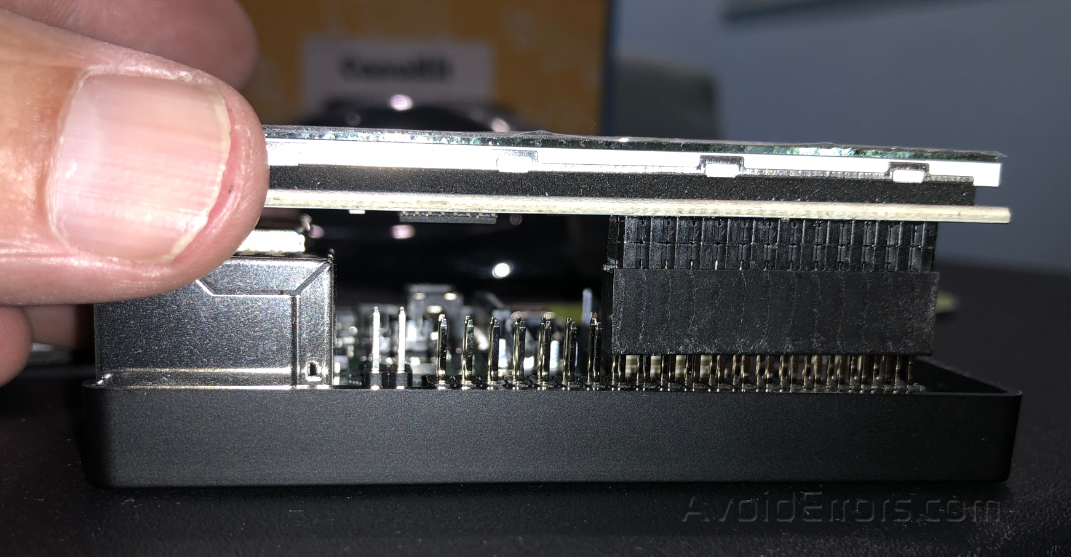
This small 3.5 LCD is easy to install, The only thing you need to do is connect the LCD to the GPIO pins on Raspberry Pi. like the Image below.
For this tutorial im using a Raspberry Pi 4 with Raspberry Pi 4 3.5 LCD touch screen kit. The same process also applies to Raspberry Pi 3 3.5 LCD touch screen kit.
When you Plug in the LCD for the first time it will not work (you’ll get a white screen only). Here are the steps to set up the 3.5 inch LCD on Raspberry Pi once installed:
1. With the 3.5 inch LCD pugged in to Pi, Connect the Raspberry Pi to a PC monitor.
2. Turn on the Raspberry Pi and make sure its connected to the Internet via WiFi or LAN.
3. In Raspbian desktop Open the terminal, and type the following commands:
sudo rm -rf LCD-show

git clone https://github.com/goodtft/LCD-show.git

chmod -R 755 LCD-show

cd LCD-show/

sudo ./LCD35-show
4. Congratulation !! You have successfully set up your Raspberry Pi LCD.

Now the display will not be visible on the monitor, it will only be visible on the Raspberry Pi LCD.
To Return to the Monitor
If you want revert back to the monitor, Open the terminal and type the following commands:
chmod -R 755 LCD-show

cd LCD-show/

sudo ./LCD-hdmi


Thanks Miguel! Your simple tutorial was the only one I found that made my Microcenter Inland PiTFT3.5″ work.