How To Password Protect a Folder in Windows 10
In this article we will learn how to protect a folder with a password in the Windows 10. Let’s say that say you are using a shared system which can you either a laptop or desktop and that system has Windows 10 installed as an Operating System.
If you don’t want to upload the content on the cloud or you even don’t want to keep that content with you on any external hard drive, In short you don’t want to share it with someone else or you don’t want to allow anyone else to see the content then you can do it by protecting the folder with a password.
Password Protect a Folder Windows 10
Let’s start with the process, anywhere on your computer where you want to create the password protected folder, like the desktop in this case.
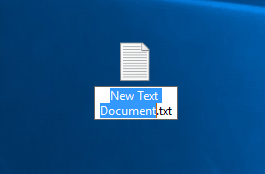
1. Right click and click new text document.

2. Once the text document is created, double click on it to open it.
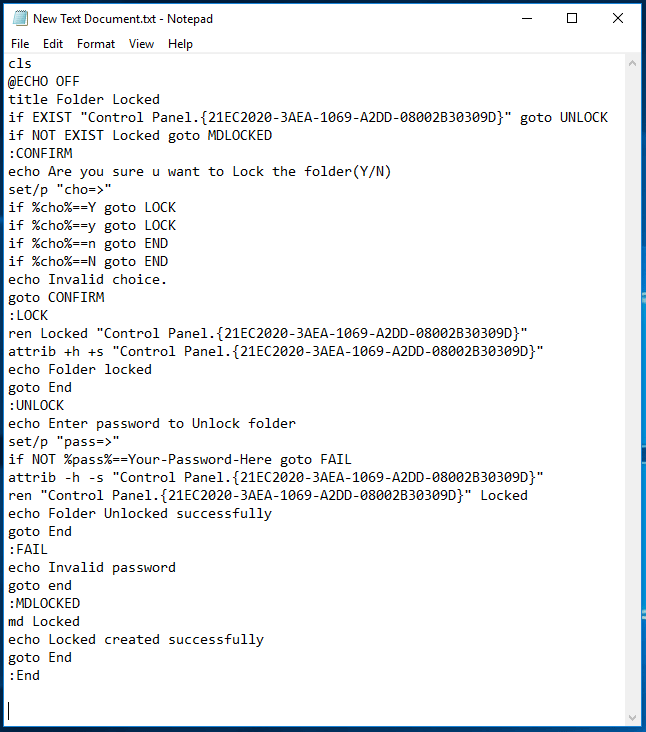
3. Then Copy and paste the code below in the text document.
cls
@ECHO OFF
title Folder Locked
if EXIST "Control Panel.{21EC2020-3AEA-1069-A2DD-08002B30309D}" goto UNLOCK
if NOT EXIST Locked goto MDLOCKED
:CONFIRM
echo Are you sure u want to Lock the folder(Y/N)
set/p "cho=>"
if %cho%==Y goto LOCK
if %cho%==y goto LOCK
if %cho%==n goto END
if %cho%==N goto END
echo Invalid choice.
goto CONFIRM
:LOCK
ren Locked "Control Panel.{21EC2020-3AEA-1069-A2DD-08002B30309D}"
attrib +h +s "Control Panel.{21EC2020-3AEA-1069-A2DD-08002B30309D}"
echo Folder locked
goto End
:UNLOCK
echo Enter password to Unlock folder
set/p "pass=>"
if NOT %pass%==Your-Password-Here goto FAIL
attrib -h -s "Control Panel.{21EC2020-3AEA-1069-A2DD-08002B30309D}"
ren "Control Panel.{21EC2020-3AEA-1069-A2DD-08002B30309D}" Locked
echo Folder Unlocked successfully
goto End
:FAIL
echo Invalid password
goto end
:MDLOCKED
md Locked
echo Locked created successfully
goto End
:End
4. The text Document should look like this:
5. On the text document, find where it says “Your-Password-Here“.

6. Replace “Your-Password-Here” with a password of your choice to lock the folder.

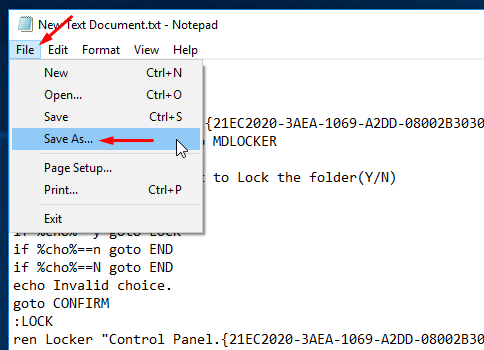
7. Now Click on “File”, Select “Save As…” from the menu.
8. Next to Save as type: Select “All Files” from the drop down menu.

9. Change the file name to “LockedFolder.bat”
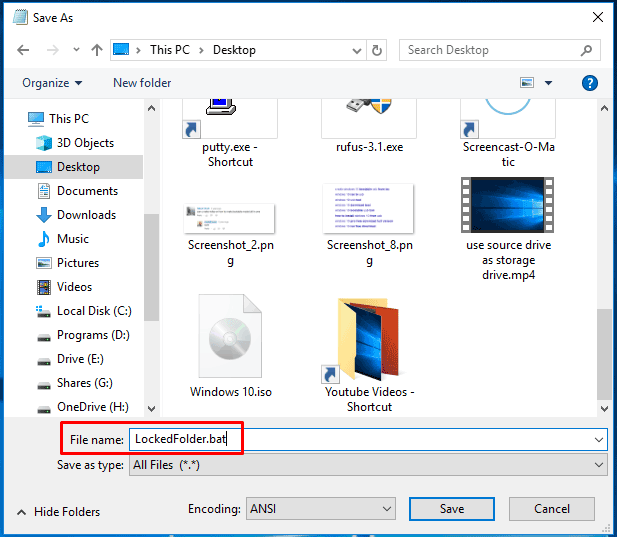
10. Now click on “Save” button.

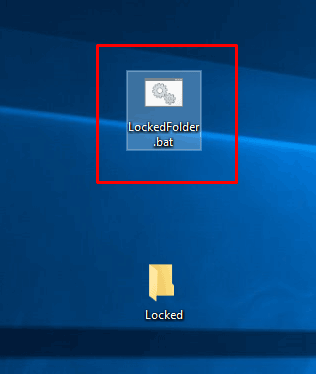
11. By saving this will create a file called LockedFolder.bat.

12. Double click the LockedFolder.bat. this will create a folder called Locked.

13. Now feel free to drag and drop all your personal stuff that needs to be protected to the Locked folder.
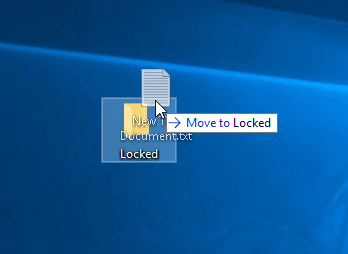
14. Once you are done moving all your personal files that needs to be password protected. It’s time to lock that folder!!!
15. Double click on LockedFolder.bat.
16. It will pop up a command prompt, Type the letter “Y” and hit “Enter”

17. Now the locked folder will disappear and you will only have only LockedFolder.bat file available.
18. Now to access the password protected folder, double click the LockedFolder.bat file, it will ask to enter the password. Enter the password that you have setup in the text file and hit “Enter”
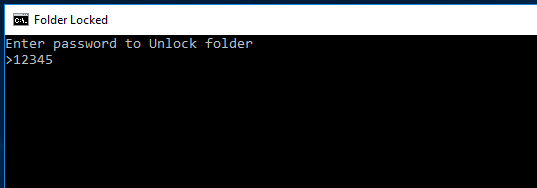
19. As soon as you hit enter the password protected folder will appear. All of your files that were moved in the Locked folder will be available and accessible.
If you want to lock the folder again, double click the batch file and then press Y when prompted, It will hide the folder and lock it.


