How to Fix 100 Percent Disk Usage – Windows 11
You may notice that your computer is performing very slowly—even if it is brand new.
You open Task Manager to begin investigating and see that your PC’s disk utilization is 100%. When your drive is under such a heavy stress, it lacks the extra cycles necessary to complete basic operating system operations.
If you’re having this problem, you’ll want to repair 100% disk use on Windows 11. Here are some helpful hints for resolving the issue.
Disable Superfetch
Press Windows key + R to launch the Run dialog.
Type services.msc and click OK.

Locate SysMain and double click on it.
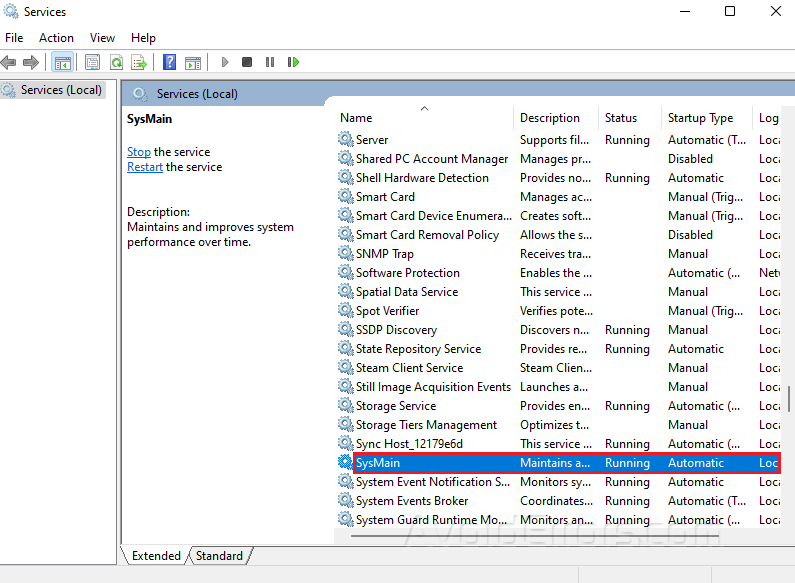
Click the Stop button.

Click Apply and OK and to save your changes.
Rebuild Search Index
Search indexing options from your Windows search bar.
Click the Advanced button.

Click the Rebuild button in the Troubleshooting section.

Click OK to verify.
Disable Search Indexing Completely
Press Windows key + R on your keyboard to launch the Run dialog.
Type services.msc and click OK.

When the Services window comes up, look for Windows Search and double click on it.

Set the Startup type to Disabled.
Click the Stop button under the Service status section
Click on Apply then OK.

Delete temporary files
Use the keyboard shortcut Windows key + R to launch the Run dialog.
Type %temp% and click OK.

Select all files by pressing Ctrl + A.
Click on Delete.


