How to Fix Local Security Authority Protection Is Off on Windows 11
The Local Security Authority (LSA) protection is a crucial process on Windows that verifies a user’s identity. While some users disable the LSA due to high CPU usage, doing so can leave the PC vulnerable to various security threats.
Continue reading this article as we have provided methods to enable LSA protection.
Windows Security App
In your Windows Search bar, type Windows Security and press Open.
On the left pane, click on Device Security.
Under the Core isolation section, click on the Core isolation details.

Enable the Local Security Authority protection section.
Click Yes in the UAC prompt and restart your PC.
Use Registry Editor
Press Win + R to launch the Run dialog.
Type regedit and press Enter.
Navigate to the following path
Computer\HKEY_LOCAL_MACHINE\SYSTEM\CurrentControlSet\Control\Lsa

Double-click on the RunAsPPL and change the Value data to 1 and press Enter.

Restart your PC.
Local Group Policy Editor
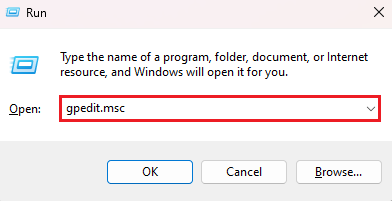
Press Win + R to launch the Run dialog.
Type gpedit.msc and press Enter.
Navigate to the following
Computer Configuration\Administrative Templates\System\Local Security Authority

Right-click the Configure LSASS to run as a protected process.
Click on Enable then click Apply and OK to save the changes.

Restart your PC.


