Fix Skype Microphone not Working – Windows 10
Almost everyone is a big fan of Skype. We use it for many purposes, like chatting with friends, calling friends and family members, conducting meetings etc. It’s part of everyday life. But it became very irritating when the microphone on Skype doesn’t work as expected. Here are few tips to fix Skype audio issues, if you come across.
Note: In case you are having issues with Skype not detecting your camera.This same process applies to camera as well.
Make Sure Sound Drivers are Installed
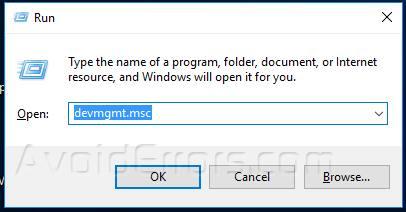
On your Keyboard, press the Windows logo key + R at the same time, then type devmgmt.msc and hit Enter.
Here note that there is no audio device with a yellow triangle with an exclamation mark. This means all drivers are properly installed.
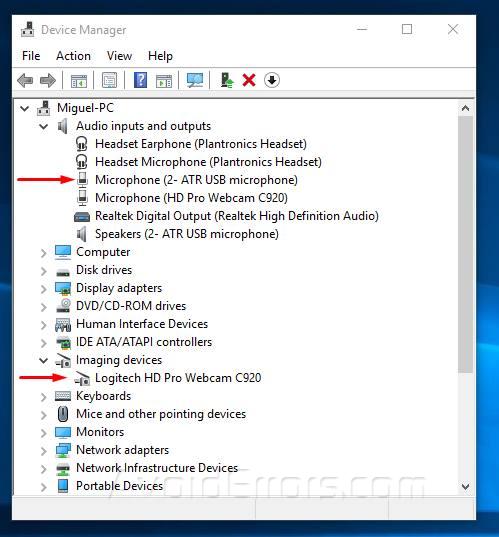
If you find an yellow triangle with an exclamation mark, that means you need to install the drivers. Here is an example:

This would mean that the audio device has no drivers and you need to install them. If no yellow triangle then there is no need to update or install Audio / Video drivers.
Keep in mind that this process also applies to no video on skype.
Update Computer Sound Card Drivers
Skype Microphone not working problem can also be caused by using an incorrect or outdated sound card driver. To download the latest updated driver you would need to go to your computer manufacturer website and download it.
Dell Example:

If you are unsure on how to go about installing drivers you can use Driver Updater from Auslogics this will save you a lot of time.
Auslogics Driver Updater will automatically scan your system to find the and install the correct drivers for your sound card.
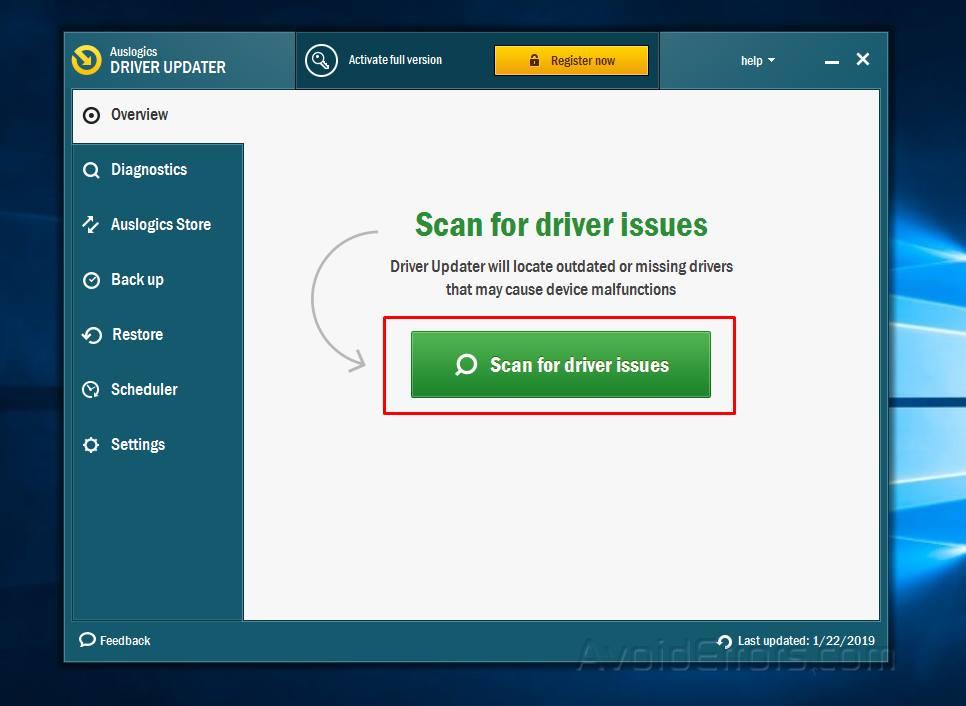
The Free version Auslogics Driver Updater will check your computer for potential driver problems, give you a report on outdated or missing drivers it detects.
If you upgrade to the paid version it’ll let you update them to the latest manufacturer-recommended versions.

Enable Permissions for Skype App (Windows 10 users)
In Windows 10, you just need to make sure that you have given Skype permissions to use audio and video. To give the permissions, follow the following steps:
Click on the start menu and then type settings. On top, it will show you settings, click on it to open it.

Once opened, click on Privacy.

On the left side, under Apps Permissions look for Microphone / Camera. select it to see settings on the right side of the window.

On the right side, scroll down until you find skype and then click on the toggle button to turn it On. Do the same for Camera if needed.

Log in Skype and check to see if your Microphone or Camera works.
Adjust Audio Settings on Skype App
Open Skype application and login to your Skype / Microsoft account. On the top of your profile picture, click on the three dots and then click on settings.

On the left side, click on Audio & Video.

Once clicked, on the right side, it will show you audio configuration options. You can select the default connected microphone, speakers. Once selected, click on test audio to check how your microphone and speaker is working. Or click on Make a free test call to see how your microphone and speaker is working.

Restart Your Windows Audio Services
Audio settings can also be impacted by audio service running on your computer which can also be reset by restarting the audio service. To restart the audio service, follow the following steps.
Press Windows + R key to open the run dialog box, type services.msc and then click on Ok.

On Windows services, look for Windows Audio Service.

Right click on Windows Audio Service and then click on Restart to restart the Windows Audio Service on your computer.

Now login to your Skype and hopefully Skype audio will start working.


