Disable the New Context Menu in Windows 11
The new Windows 11 OS has a lot of great features and a cool look. It also added new context menus, but even though they seem to be better, a lot of users found them hard to understand.
This is why many users want to disable the new context menu to revert to the old one.
This article will discuss several ways to go about this.
Revert Old File Explorer
Press Win + R to launch Run app.
Type regedit and press Enter.

Navigate to the following path:
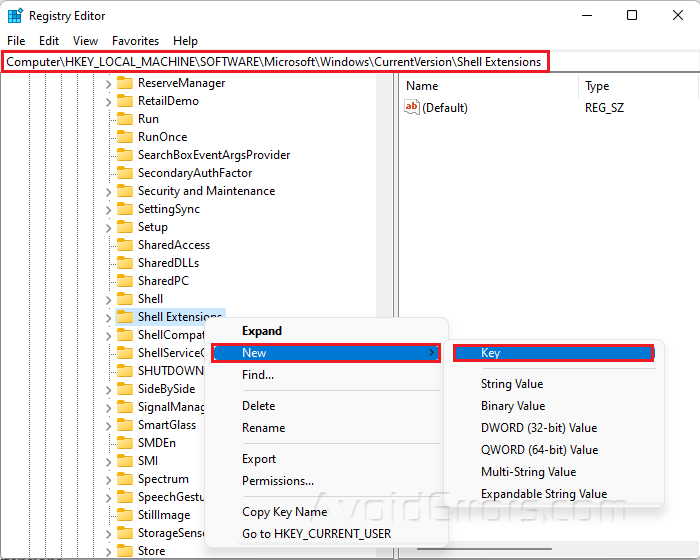
HKEY_LOCAL_MACHINE\SOFTWARE\Microsoft\Windows\CurrentVersion\Shell Extensions
Right-click on Shell Extensions, select New and choose Key.
Name the new folder Blocked and double-click on it.
Right-click on any empty space and select New.
Select String value.

Copy and paste this value and press Enter:
{e2bf9676-5f8f-435c-97eb-11607a5bedf7}

Restart your PC.
File Explorer should be just like before in Windows 10.
Disable New Context Menu
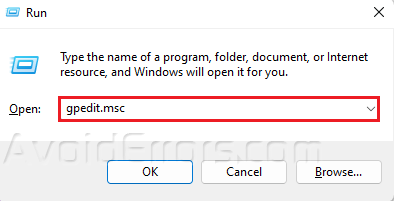
Press Win + R to open Run dialog.
Type gpedit.msc and press Enter.
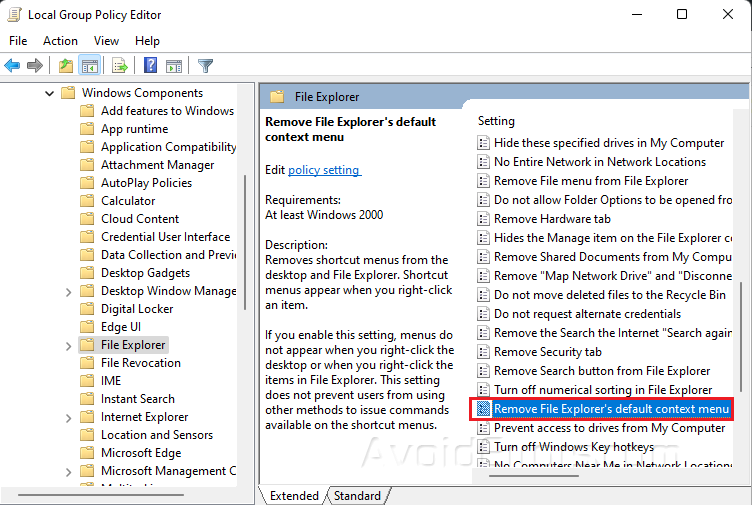
Once Local Group Policy opens up, go to User Configuration tab.
Click on Administrative Templates, then select Windows Components.

Choose File Explorer and double-click on Remove File Explorer’s default context menu.
Click on Disable.
Click Apply and OK to save your changes.


