Fix Uninstallation Error 0x80073cfa in Windows 11
Usually, it’s not hard to get rid of an app. But when you try to uninstall a Microsoft Store app, you might get the 0x80073cfa error.
You can fix this error by following one of the things listed below. Please take your time and read this guide all the way through.
Uninstall using PowerShell
Type Powershell in your Windows search bar and select Run as Administrator.

Copy and paste the following command and press Enter.
Get-Appxpackage -Allusers
A list of apps installed in your PC will be shown. Locate for the app your trying to uninstall.
Copy the content of its PackageFullName.

Input the following command, change the PackageFullName with the content you copied.
Remove-AppxPackage -Package PackageFullName

Performing a Clean Boot
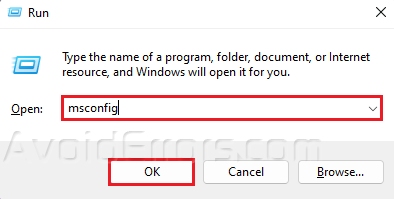
Press Windows + R to open Run dialog.
Type msconfig and press OK.
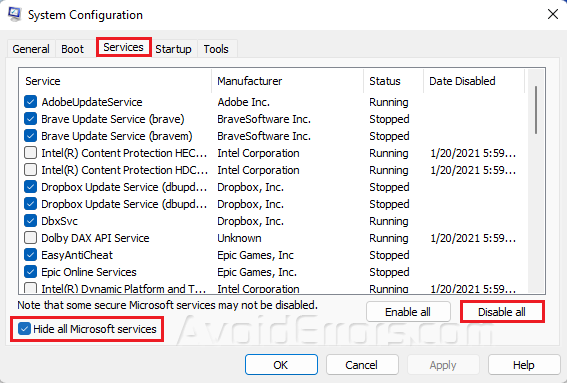
Go to the Services tab.
Select Hide all Microsoft services and select Disable all.
Next, go to Startup and select Open task manager.
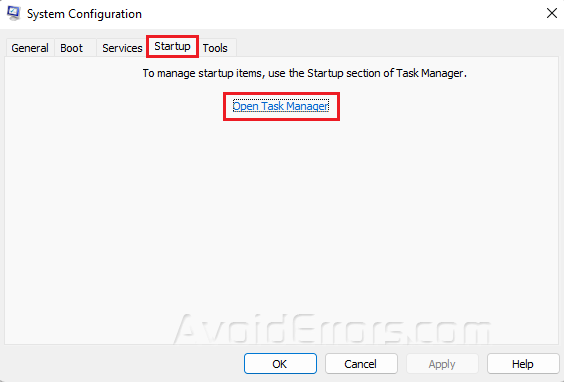
Disable any enabled apps of your choice.

Exit Task Manager and go back to System Configuration and press OK.
Restart your PC.
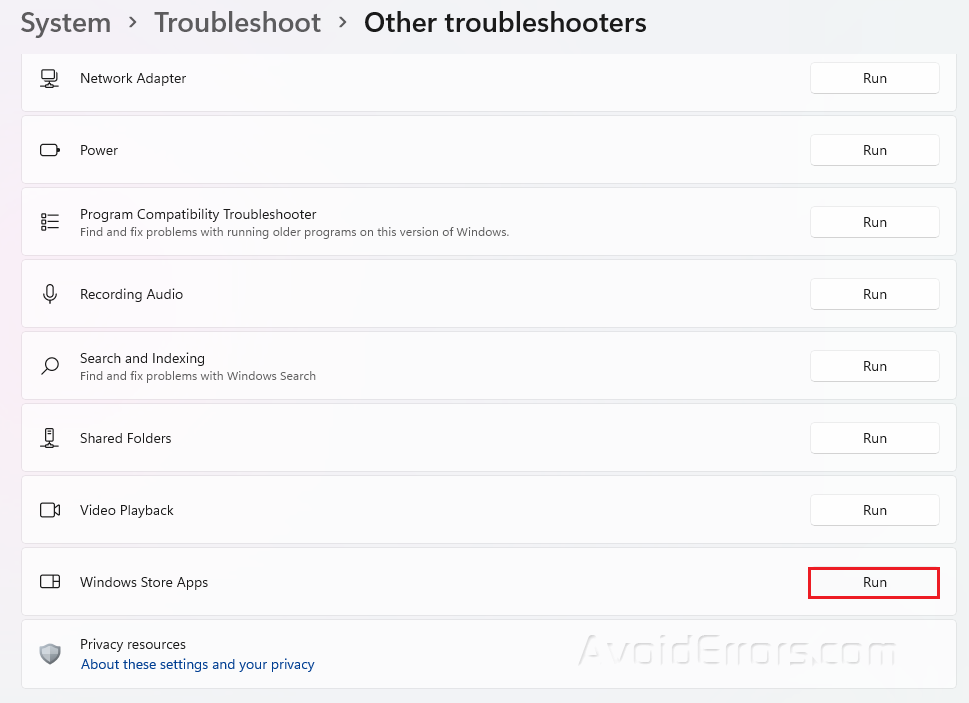
Run Windows Store Troubleshooter
Open Settings by typing it in your Windows search bar.
Under System, go to Troubleshoot and select Other troubleshooters.
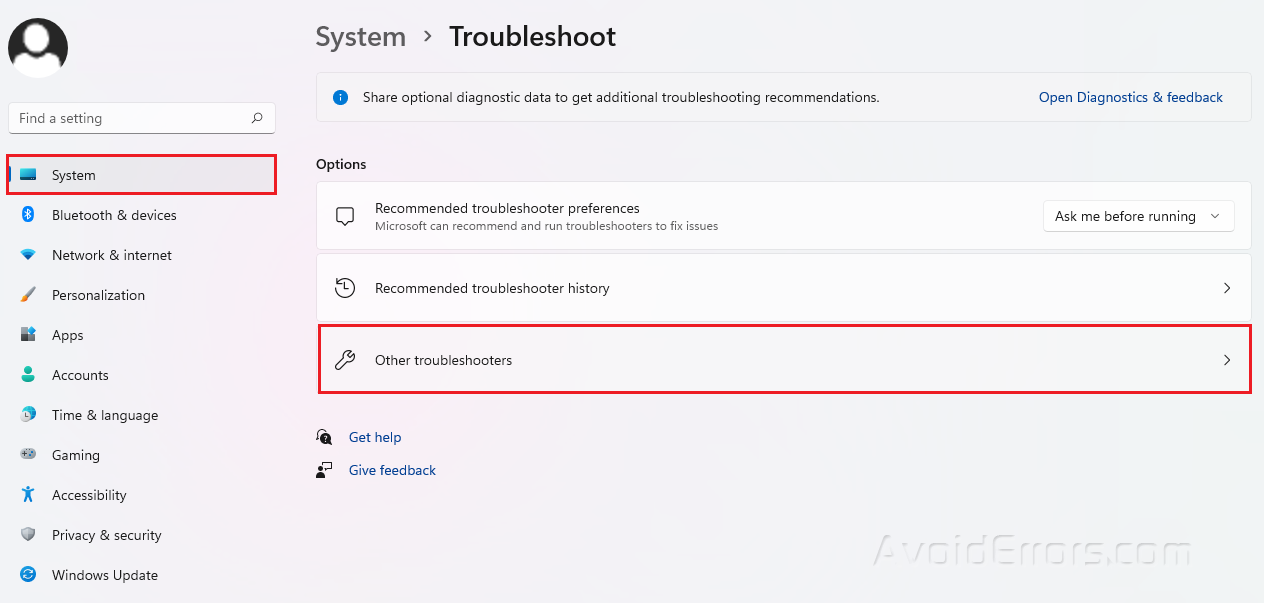
Look for Windows Store Apps and click on Run beside it.
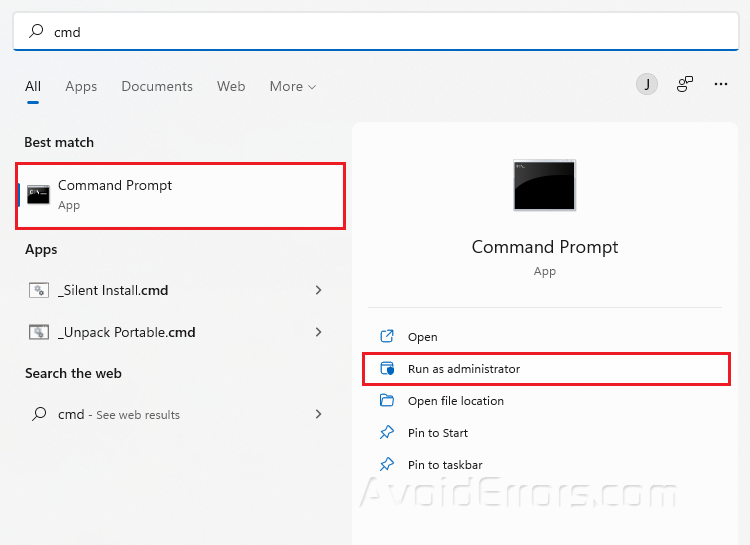
Perform an SFC scan
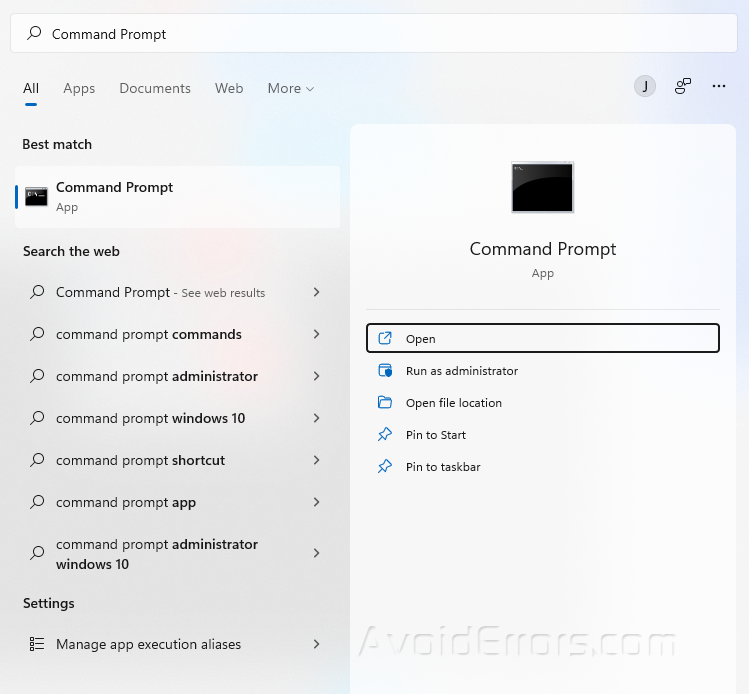
Type cmd in your Windows search bar and select Run as Administrator.
Type sfc/scannow and press Enter.
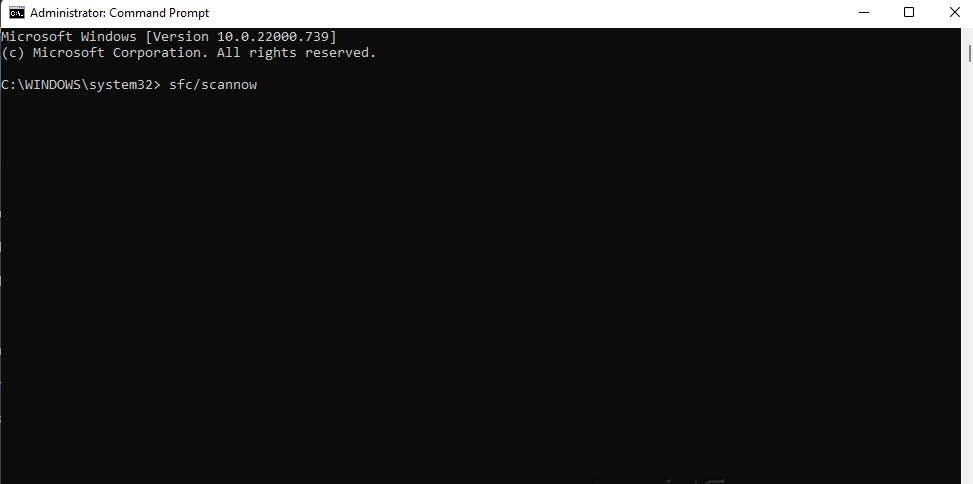
Restart your PC.
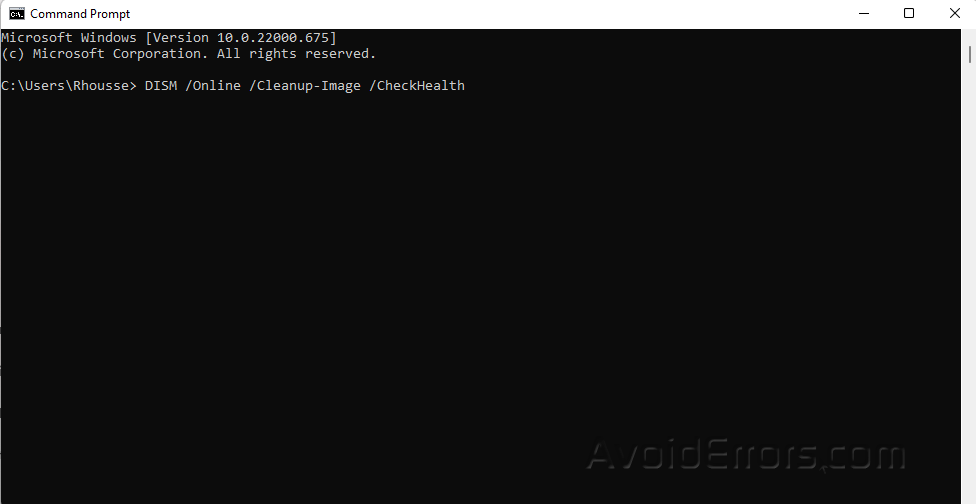
Run the DISM tool
Type Terminal on your Windows search bar and select Run as Administrator.
Copy and paste the following three commands one at a time and hit Enter after each:
DISM /Online /Cleanup-Image /CheckHealth
DISM /Online /Cleanup-Image /ScanHealth
DISM /Online /Cleanup-Image /RestoreHealth
Restart your PC and check if the error is resolved. Proceed to next step if not.
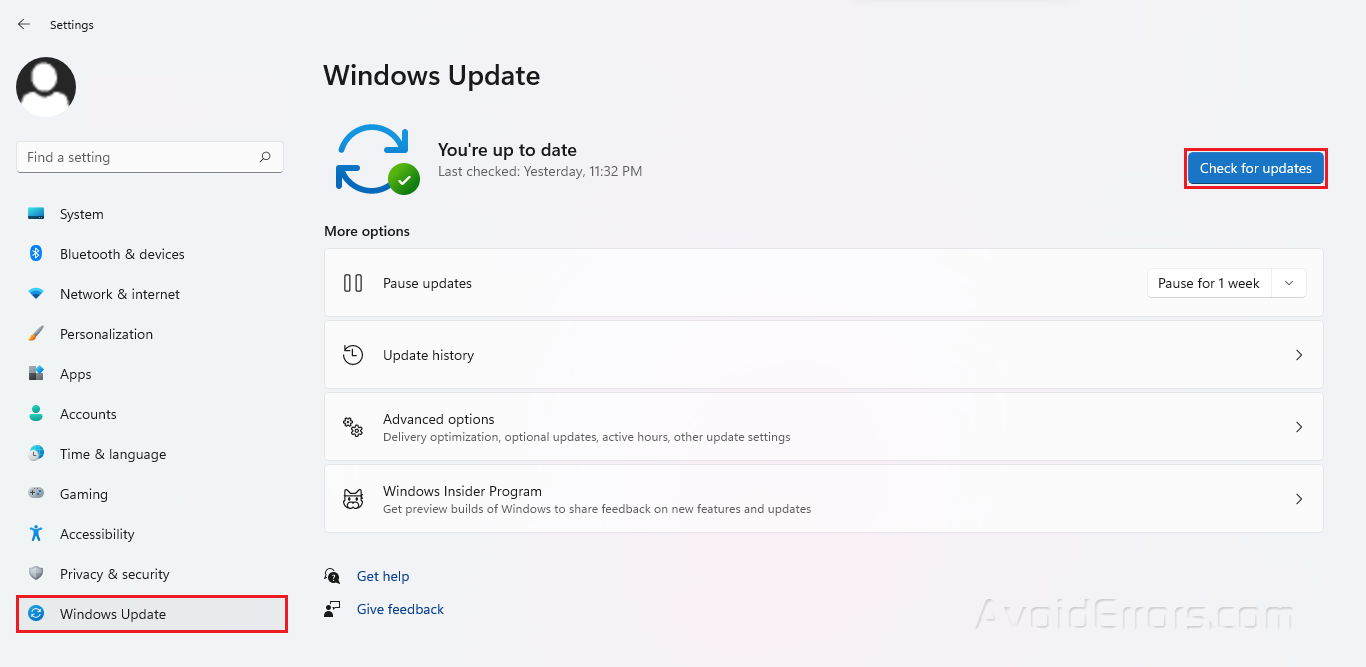
Check Windows Update
Press Windows + I to open Settings.
Go to Windows Update and click Check for Updates.
If you’re using an older version of Windows, this might be causing the problem, which can be resolved by upgrading the operating system. The problem will almost certainly be resolved in a future software update.
Factory Reset Your PC
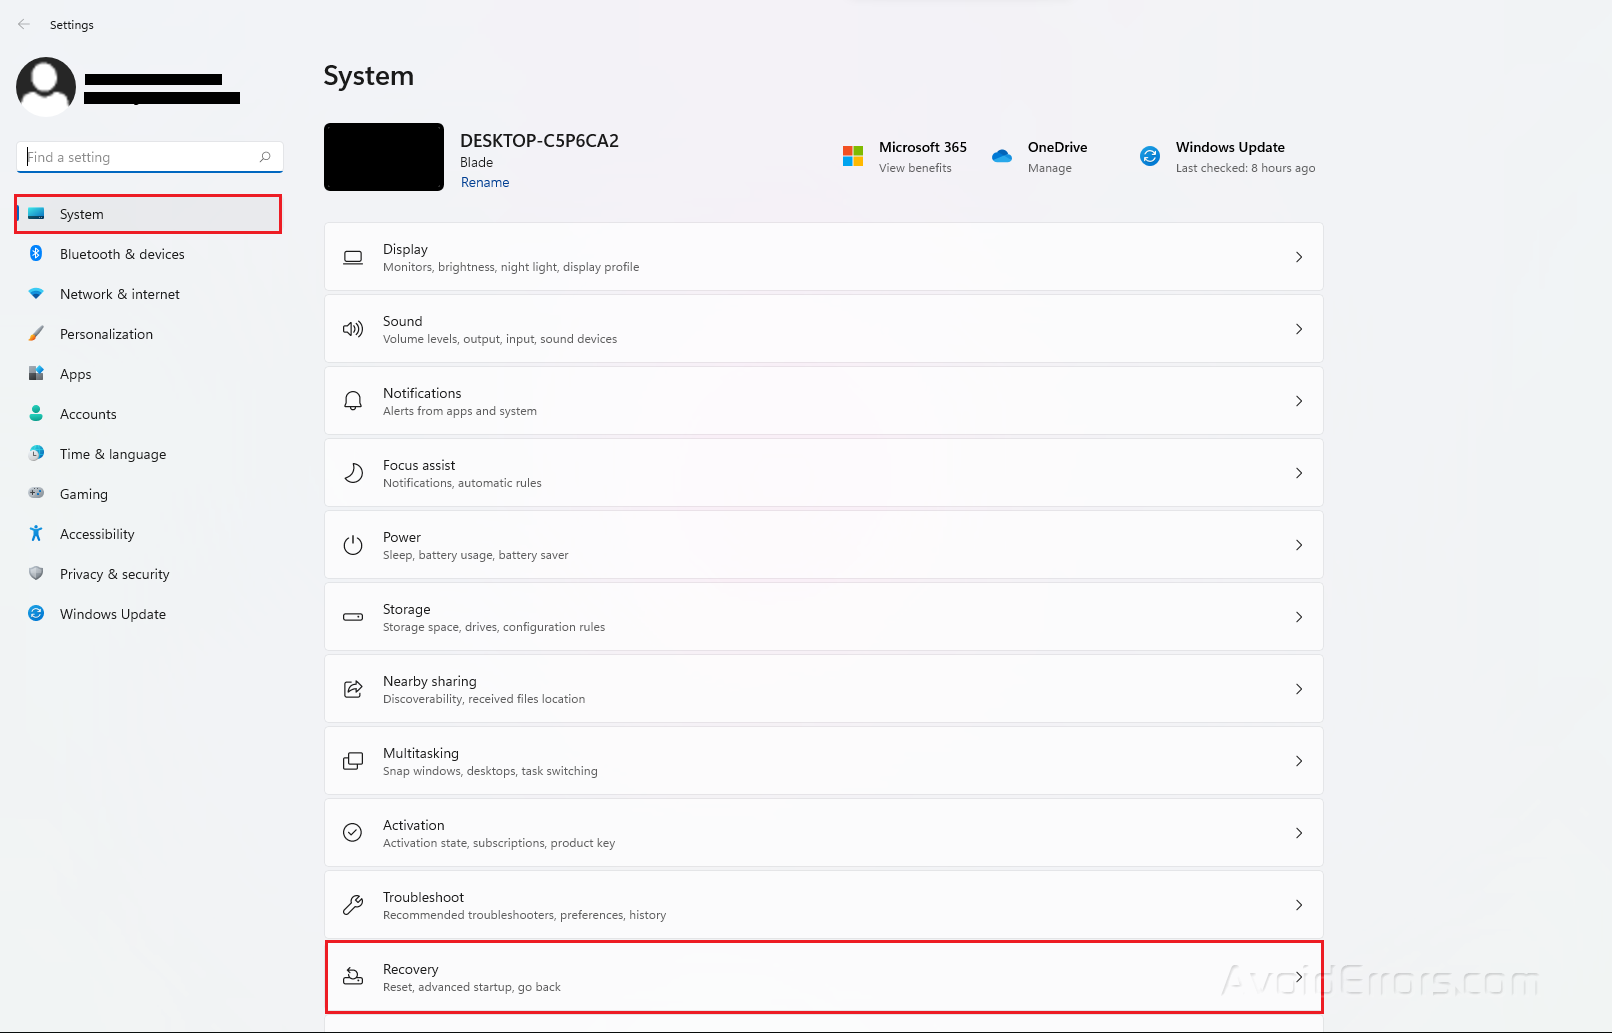
Press Windows + I to open Settings.
Under System, click on Recovery.
Under Recovery Options, click on the Reset PC button.
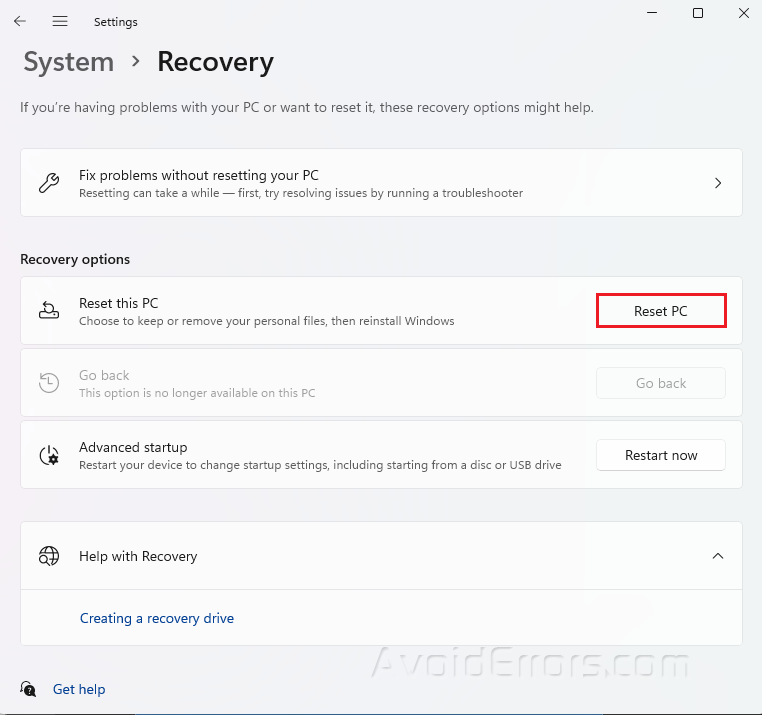
Select Keep my files when prompted.
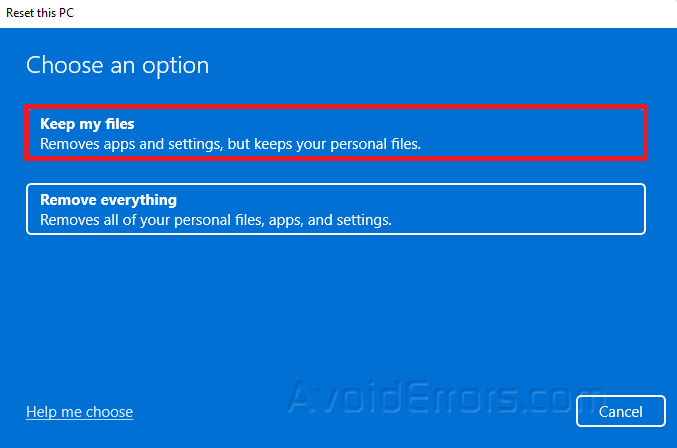
Select the option to reset Windows 11.

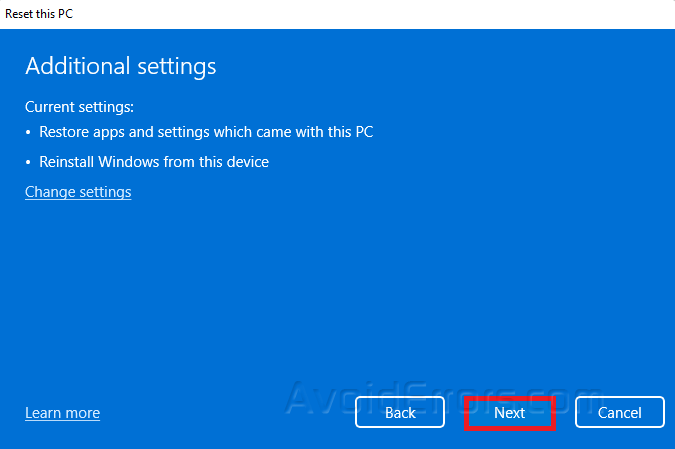
Cloud download: Reinstall Windows 11 using a new copy of the installation downloaded from the cloud. This choice, however, will not restore the tools, applications, or settings that came with the manufacturer’s initial image.
Local reinstall: Resets the computer using the data already on the hard drive. This step will restore the factory drivers, settings, and tools if this is a branded device (such as Dell, Asus, Lenovo, and so on).
Review the additional settings and click Next.
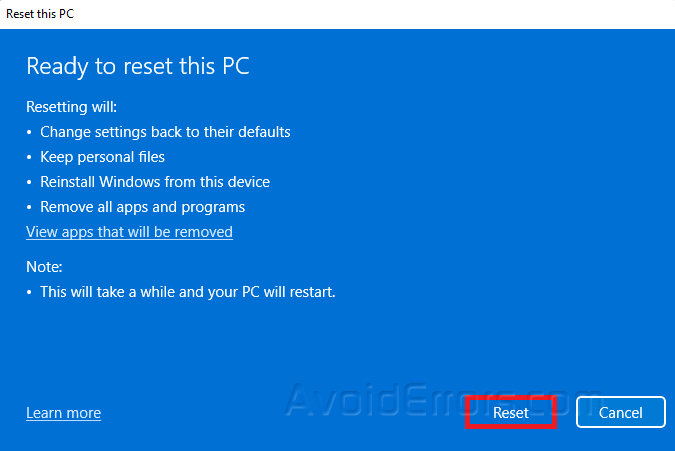
Finally, click on Reset.
Remove Everything Option
Open Settings on your PC.
Under System, go to Recovery.
‘
Under Recovery Options, click on the Reset PC button.
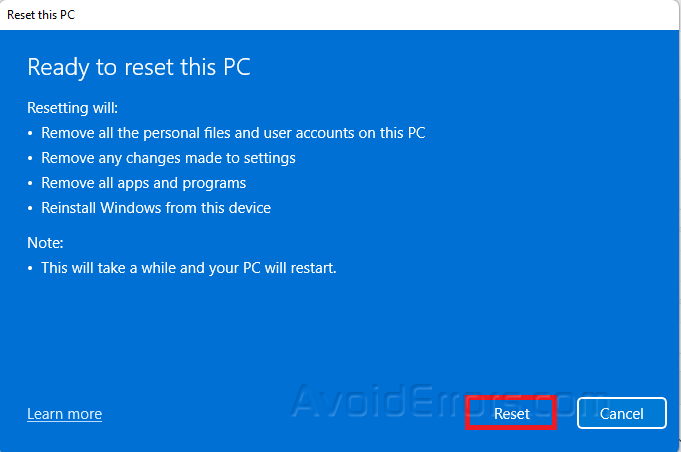
Select Remove my files when prompted.
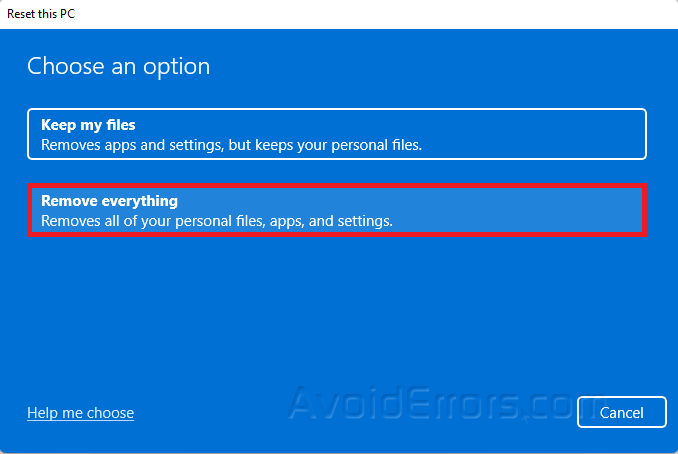
Select the option to reset Windows 11.
Click on Reset.
After factory resetting your PC, always check for Windows updates and missing drivers.


