Fix Windows 10 Wi-Fi Frequently Disconnecting from Internet
If your Wi-Fi connection keeps dropping out, then reconnecting, you are not alone. Many users have been reporting this issue. Fortunately, you can fix it. Here are some applicable fixes:
Method #1: Run the Network Troubleshooter
First, run a scan and fix network and internet connection related issues. Luckily, Windows 10 has a built-in network troubleshooter. Windows will fix the problem automatically.
1. Go to the search box, and type settings then enter the first match.

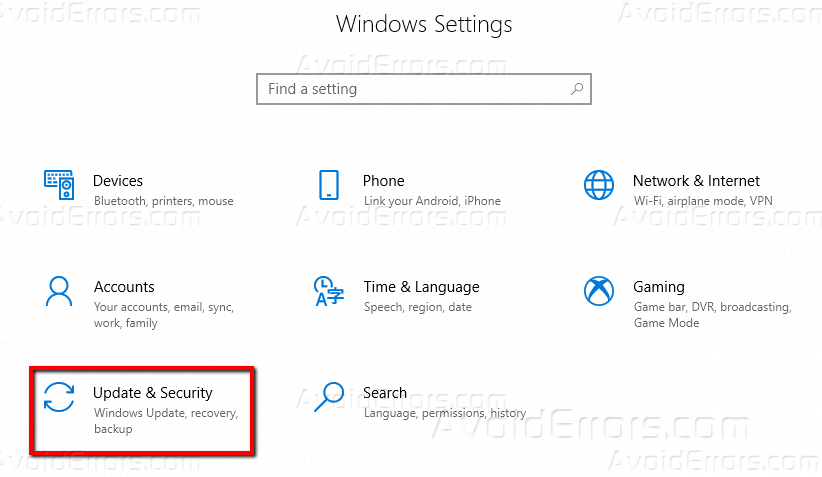
2. In the Settings window, choose Update & Security.
3. From the left pane, choose Troubleshoot. Then select Internet Connections under Get up and running. Now click Run the troubleshooter.

4. Windows will find and fix all internet connection related problems. This should resolve your internet disconnect frequently issue.
Method #2: Upgrade Your Network Adapter Drivers
Outdated drivers might intervene with your Wi-Fi connection. Updating them is an excellent way to solve Internet disconnect frequently after Windows 10 upgrade. To do so:
1. Go to the toolbar, click the search icon, type device manager, and select the first match.

2. In the Device Manager window, select the device you want to upgrade. Right-click on the name of the device and choose Properties.

3. In the next screen, you will see two options. Choose Search automatically for updated driver software.

4. Your PC will search for updates.

If you have the latest driver version, you will see a notification stating the best drivers for your device are already installed. Otherwise, your machine should do an automatic update of the driver.

5. Repeat the above steps to update other outdated drivers. Once you finish updating all the drivers, restart your PC. Go to the taskbar, click the Windows icon, press the power icon, and select Restart.

Check to see if you can connect to the internet, continue to the next method if the internet connection is still disconnecting frequently.
Method #3: Reset the TCP/IP
This method is simple; therefore, you should first try out the other methods. You will execute commands in the command prompt. First, you need to create a system restore point before performing this procedure.
1. Go to the taskbar, click the search icon and type command prompt in the search box. Right-click on the first match and select Run as administrator.

When you open command prompt as admin, you will see a User Account Control window is seeking permission to proceed. Click Yes.

2. In the command prompt, type the following:
netsh winsock reset catalog
Press Enter. The above command line resets the network adapter.

You will see the below confirmation that Winsock Catalog has successfully reset and you must restart your computer to complete the reset.

3. In the command prompt, type the following:
netsh int ipv4 reset reset.log
Press Enter

4. A confirmation list will be displayed. In the command prompt, type the following:
netsh int ipv6 reset reset.log
Press Enter. Another confirmation list is displayed.

5. After completing entering the commands, type exit and hit Enter to close the command prompt.
6. Finally, you need to restart your machine for the changes to take effect. Go to the taskbar, click the Windows icon, press the power icon, and select Restart.
Conclusion
After following these methods, your Wi-Fi connection should be fixed. Feel free to leave a query, suggestion, or comment in the comment section below.


