How to Configure Battery Saver In Windows 10
When we are using laptops, we all know that it runs with battery and everyone hates when we need to charge the laptop battery especially when we are working where the charger is not around. Sometimes we are out for meetings and laptop went out of battery and makes the situation very difficult.
Microsoft makes a few settings by default to turn on the battery saver mode at 20%. But when you are leaving your office for a meeting, you can reconfigure battery saver mode to get maximum output from your laptop battery.
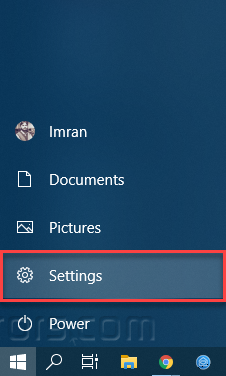
Click on the start menu and then click on the Settings icon.
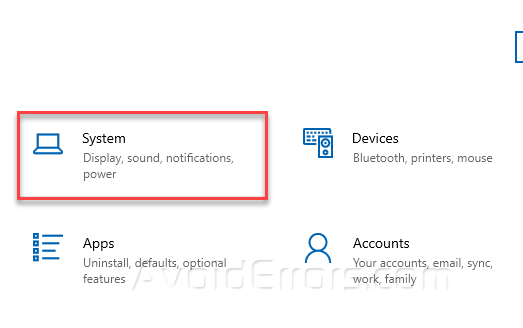
Under Settings, click on the System option.
On the left-hand menu, click on Battery option.

This will show all battery related settings on the right side of the window.

This will give you an overview of the Battery, that how much battery is charged, in my case it’s 100% charged. Click on “See which apps are affecting your battery life” to see the list of Apps consuming your battery life.

To change battery saver configuration, Click on the checkbox “Turn battery saver on automatically if my battery falls below” then move the slider to adjust the battery saver settings.
I would recommend that it should be at 40% while you are roaming with your laptop to get maximum productive time from your laptop battery.

Note that when you will turn the battery saver on, this will extend the battery life by limiting the background activity by sleeping the non-useable apps that consume a lot of battery power.


