How to Fix Error 0x80004005 in Windows 11
Users of Windows 11 said they got the error 0x80004005 when they tried to update their OS or even turn it on.
The Windows Update troubleshooter may or may not be able to find the cause of this problem, which could be something as simple as drivers that don’t work well together or something more complicated.
Follow along and we’ll show you how to fix the update error and activation error 0x80004005 in Windows 11, right after we show you why it’s so important to update your operating system regularly.
Why is it important to update your OS?
Those annoying reminders that pop up on your computer screen are probably something you’ve seen before. They tell you every time you open your computer that your apps and drivers are out of date.
They always seem to show up when you’re in the middle of something important and at the worst possible time. So, you should do what they say and make sure your computer is always up to date.
A big benefit of installing updates is that it only takes a few clicks, and if your system is set up correctly, you won’t even have to do that. You can set your PC or Mac to automatically install updates if you so desire.
How can I fix error 0x80004005 in Windows 11?
Use Update Troubleshooter
Press Win + I to open Settings.
Go to System and look for Troubleshoot.

Select Other troubleshooters to open more options.

Locate Windows Update and click on Run next to it.

Check your PC drivers
Open Settings and go to Windows Update.
Select Advanced options.

Go to Optional updates.

Finally, choose Driver updates from the drop-down menu and select all the updates.

Driver updates are usually taken care of by Windows, but if you’re having trouble, you can search for updates and install them yourself.
Start in Clean Boot
Press Win + R to open Run dialog.
Type msconfig and press Enter.

Go to the Boot tab and check the Safe boot option.

Now, go to the General tab and check Selective startup option.

Click on the Services tag and check the Hide all Microsoft services and click on Disable all.

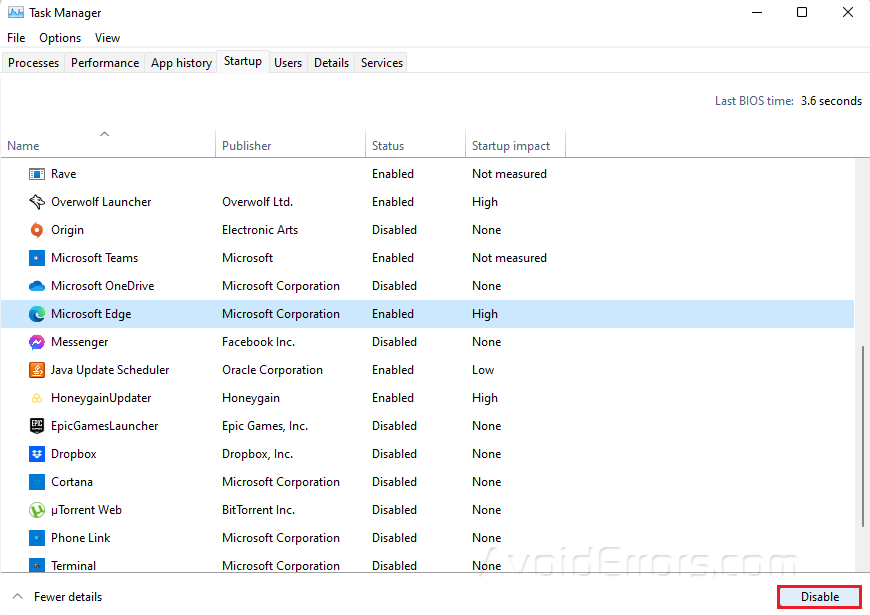
Lastly, go to Startup tab and click on Open Task Manager.

On the Task Manager, go to Startup tab and right-click on unnecessary apps then select Disable.
Close Task Manager and on the System Configuration, click on Apply and OK to save your changes.


