How to Install macOS Mojave Final on Oracle Virtualbox
Apple’s latest os is called Mojave and it’s a very cool operating system with lots of new features. You want to try it but you own a windows computer? Well that’s not an issue anymore because you can give it a try using Oracle Virtualbox.
But you need to make sure that your system supports virtualization and it needs to be a 64-bit system and have at least 4 gb of ram so the mac mojave can work. If you have these specifications on your computer you are good to go and follow our step by step guide to install it.
Downloads:
Oracle Virtual box is the software that will let you create a virtual mac machine to run mojave.

Open the downloaded file and click on Next

And click on Yes to proceed with the installation

Now you should have virtual box installed.
Now we need MacOs Mojave image Right click on the mac Mojave file and click on Download to start downloading the file.

Extract the Mojave image you will need a unzipper software like WinRar. Click on the version that suits your os, 64 or 32 bit to start the download

After you have installed all of them you can now continue to the installation:
Installation:
First you need to extract the mojave image file from the archive file that you downloaded and save it to a place easy to find (ex.Desktop) so right click on it and click on Extract Here

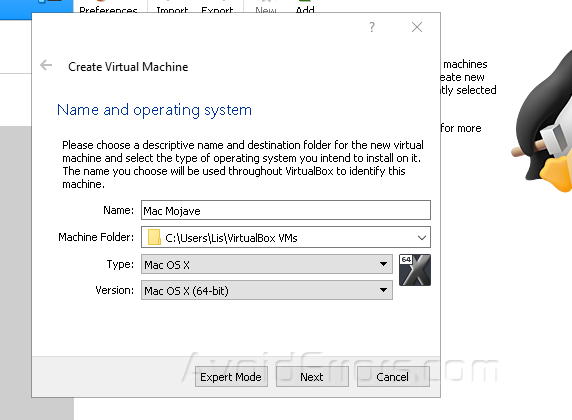
Now open virtualbox and click on New to create a new machine

Enter a name you want, for the type select Mac OS X and version needs to be Mac OS X (64-bit) and click on Next to continue
You can allocate as much Ram as you want as long as is not crossing the half of the whole pc ram size, even 2 GB is enough, so decide how much you want and click on next.

At the hard disk tab you need to click on Use an existing virtual hard disk file and click on Add and select the file we downloaded earlier (MacOs Mojave Image File) and click on choose

Now the machine is created, but we need to change some settings and we are good to go, so select your new virtual machine and click on Settings.

Click on System then open the Processor tab and increase cores to 50% of your computer processor (in my case I have 4 cores so I need to assign 2 cores to the machine)

Then go to Display tab and increase the video memory to 128 mb.

Go to Storage tab and enable Use Host I/O Cache option and click Ok to save and close the settings

Command Prompt Tweak:
Close virtual box. To make mac mojave work we need to add some codes to virtual box manually, we will do that using command prompt (cmd), Click on the start button then type in CMD from the results right click on it and Run as administrator

Paste this code to the command prompt, but make sure to change “Your VM Name” with your machine name from step 3 (in my case is Mac Mojave)
cd "C:\Program Files\Oracle\VirtualBox\"
VBoxManage.exe modifyvm "Your VM Name" --cpuidset 00000001 000106e5 00100800 0098e3fd bfebfbff
VBoxManage setextradata "Your VM Name" "VBoxInternal/Devices/efi/0/Config/DmiSystemProduct" "iMac11,3"
VBoxManage setextradata "Your VM Name" "VBoxInternal/Devices/efi/0/Config/DmiSystemVersion" "1.0"
VBoxManage setextradata "Your VM Name" "VBoxInternal/Devices/efi/0/Config/DmiBoardProduct" "Iloveapple"
VBoxManage setextradata "Your VM Name" "VBoxInternal/Devices/smc/0/Config/DeviceKey" "ourhardworkbythesewordsguardedpleasedontsteal(c)AppleComputerInc"
VBoxManage setextradata "Your VM Name" "VBoxInternal/Devices/smc/0/Config/GetKeyFromRealSMC" 1
and it should look like this

Now restart you computer
Starting the virtual machine
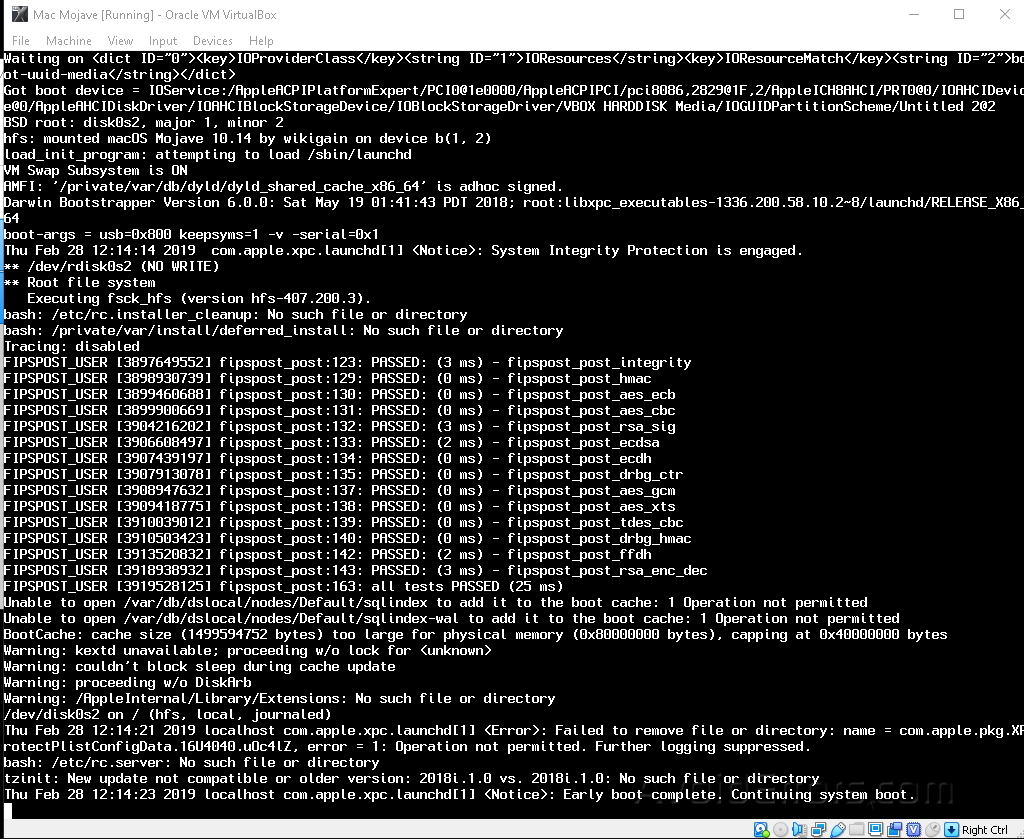
Open virtualbox and start the mac mojave virtual machine

Now give it some time time to start, you might see some errors but it’s normal so you just need to wait.
Now select your state and click continue

If you have an apple id you can use that to sign up ,but we are going to skip that for now and will use an local account

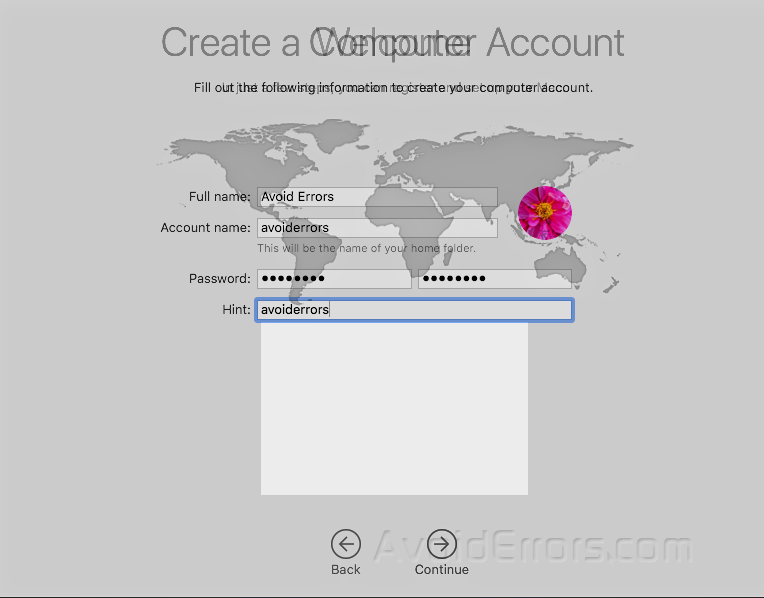
Now type in your informations and password and click on Continue to complete the setup
You should now be booted to your new mojave machine


