How to Fix Netio.sys Blue Screen Error on Windows 11
Users of Windows 11 are used to seeing the netio.sys blue screen after installing the latest updates. When this error happens, your screen will turn blue and your system will restart or crash without warning.
It’s an annoying error code that shows up on your screen with some confusing warnings.
This error mainly occurs if the recently installed update file is corrupted. But there are many other things that could cause this to happen.
So, in this post, we’ve put together a list of things you can try to fix this problem.
Restart your device
Press Alt+ F4 to open the Shut Down Windows dialog box.
Select Restart and click on OK.

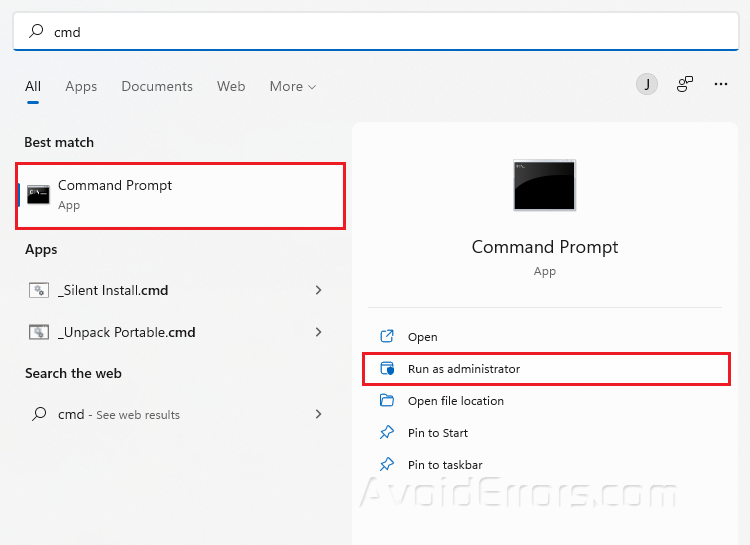
Perform an SFC scan
Type cmd in your Windows search bar and select Run as Administrator.
Type sfc/scannow and press Enter.
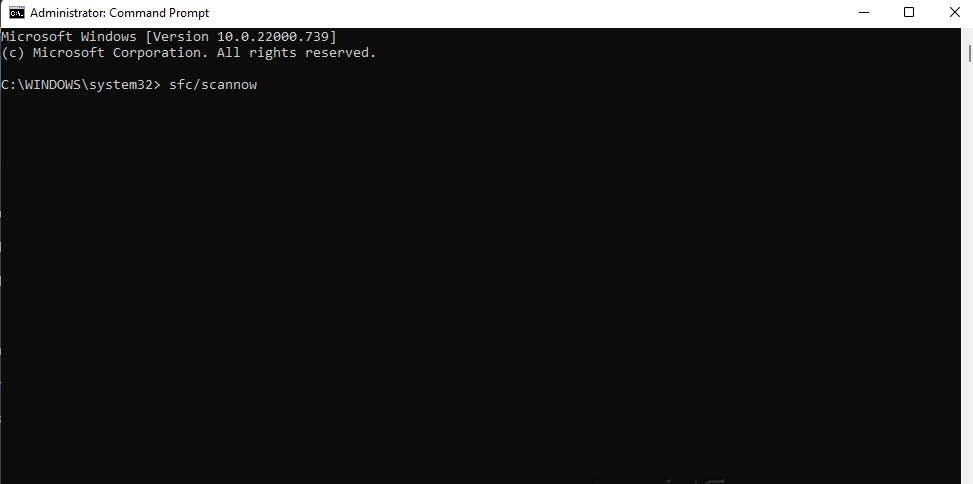
Restart your PC.
Clean Boot your PC
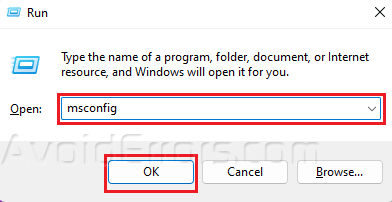
Press Windows + R to open Run dialog.
Type msconfig and press OK.
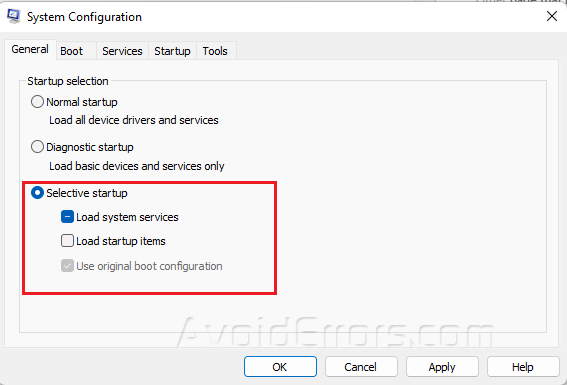
Go to the General tab.
Select the Selective Startup but uncheck Load System Items.
Go to the Services tab.
Select Hide all Microsoft services then click on Disable All.

Click Apply and OK to save changes.
Run the DISM tool
Type Terminal on your Windows search bar and select Run as Administrator.
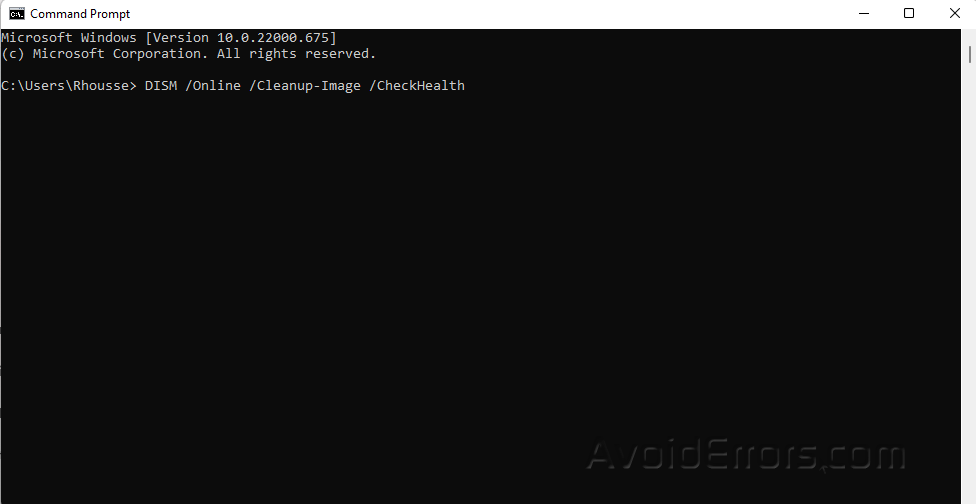
Copy and paste the following three commands one at a time and hit Enter after each:
DISM /Online /Cleanup-Image /CheckHealth
DISM /Online /Cleanup-Image /ScanHealth
DISM /Online /Cleanup-Image /RestoreHealth
Restart your PC and check if the error is resolved. Proceed to next step if not.
Run the Check Disk (CHKDSK) tool
Open Command Prompt again and Run as Administrator.
Copy and Paste the following command
chkdsk /c
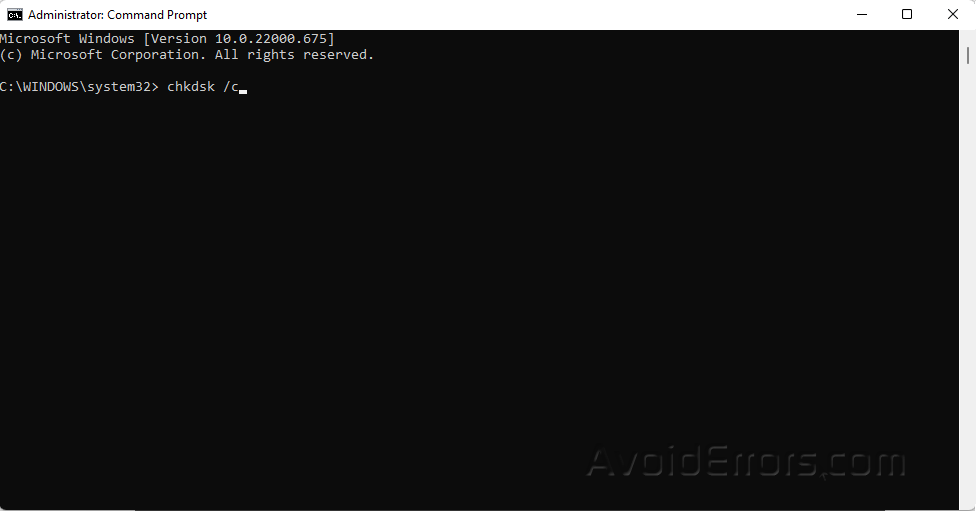
The above program will scan the files on the C: disk. If you wish to perform a scan for the others, just substitute their drive letter for the C: drive in the command. Depending on the amount of data saved and the condition of the disk, the scan may take some time to finish.
Disable third-party antivirus
The Netio.sys blue screen can also happen if you have a third-party antivirus program installed on your Windows 11 computer. Turn off the antivirus software and see if the problem is still there.
If turning off the software doesn’t work, remove the antivirus software for a while and check for the same problem.
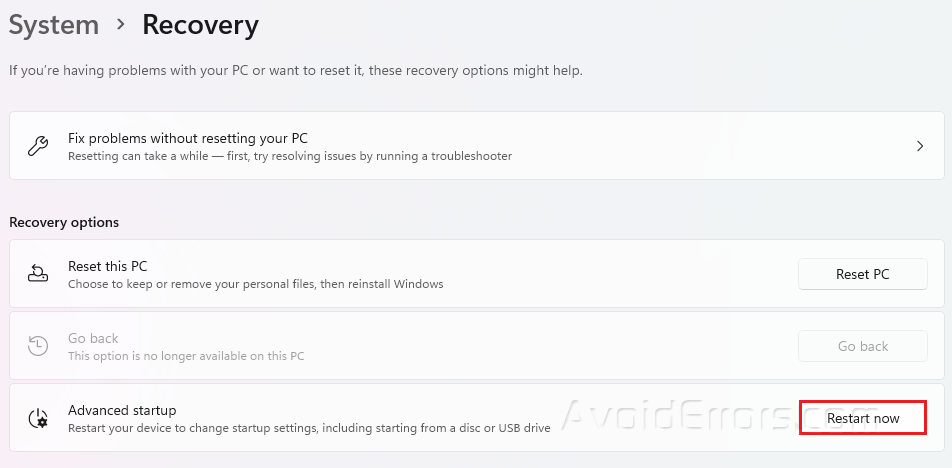
Restart Windows in Safe Mode
Press Windows + I to open Settings.
Go to System and look for Recovery.
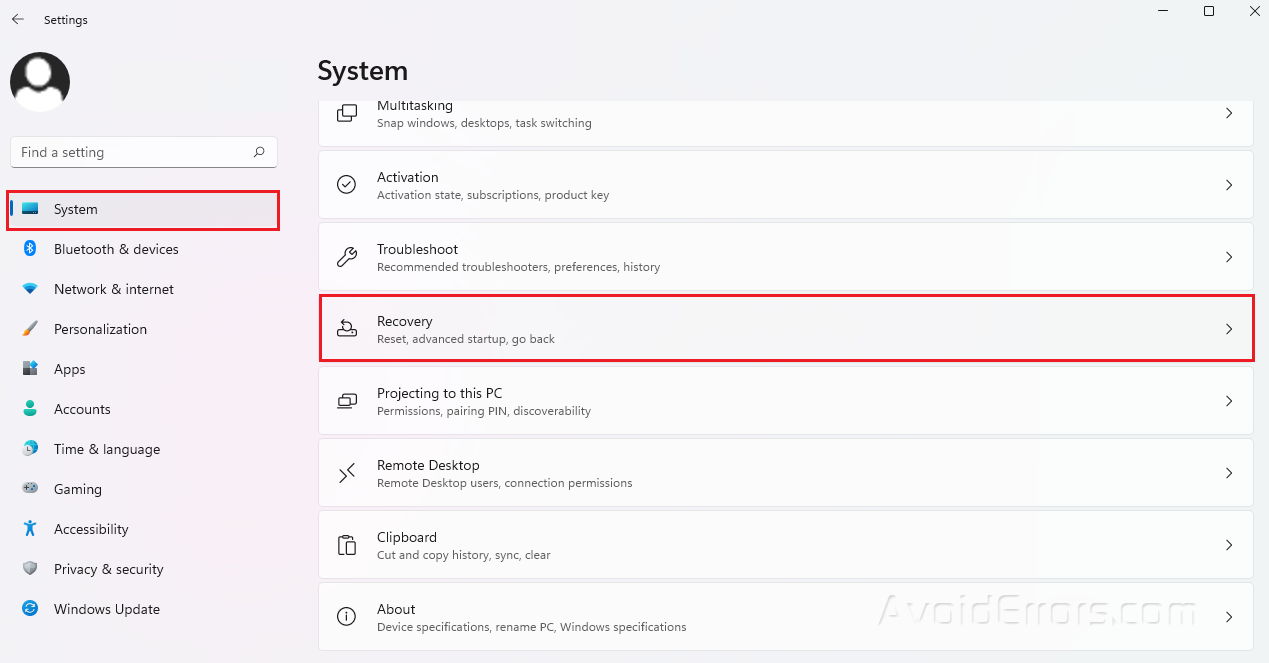
Click on Restart now beside the Advances setup.
Reset your Device
Press Win + I to open Settings.
Under Systems, look for Recovery.

Click on Reset PC and follow any on-screen instructions.


