How to Change the Screen Timeout in Windows 11
Is your Windows 11 computer screen turning off too quickly when left idle? If this is the case, you can adjust the screen timeout settings to increase the duration and avoid the inconvenience.
This guide provides various methods to modify the screen timeout duration in Windows 11.
One common reason why your computer’s screen shuts down rapidly is due to the short time duration set for the screen timeout feature.
Via Settings
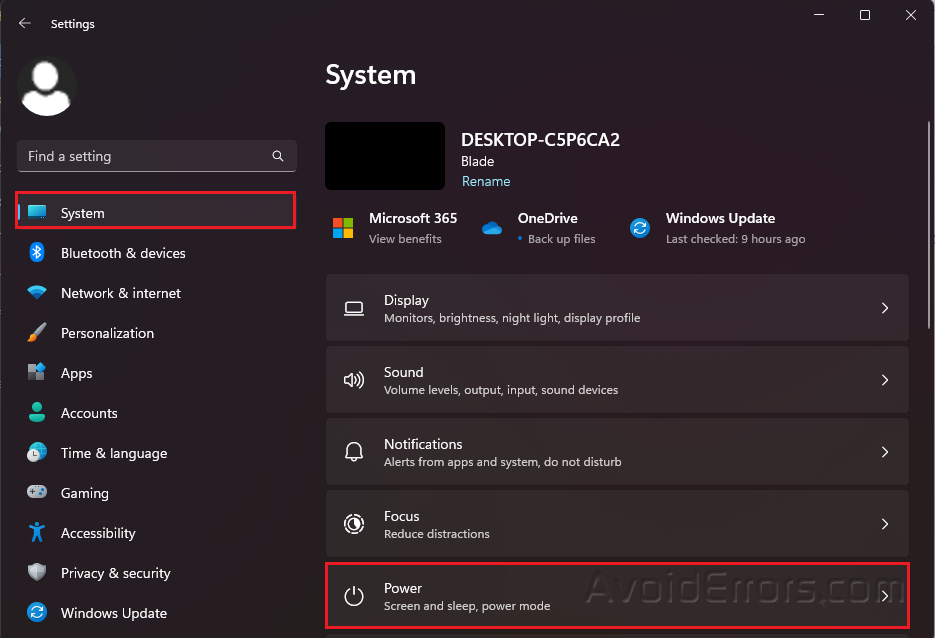
Right click the Windows icon and click settings.
From System settings, choose Power.
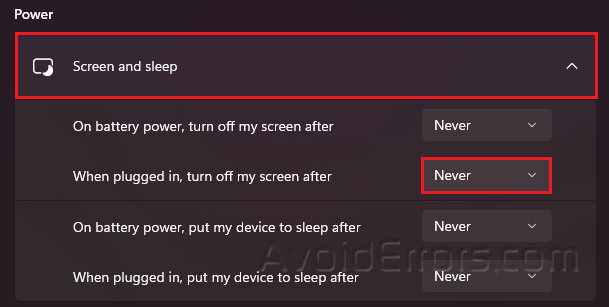
Click to expand the Screen and sleep option located under the Power section.
Assign the time duration of your choice for When plugged in, turn off my screen after option.
Use Control Panel
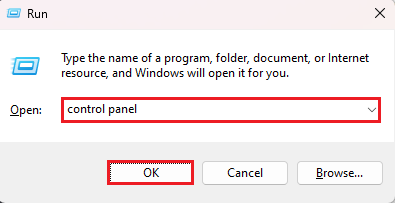
Press Win + R to open the Run Command.
Type Control Panel from the search bar and press Enter.
Choose Hardware and Sound.
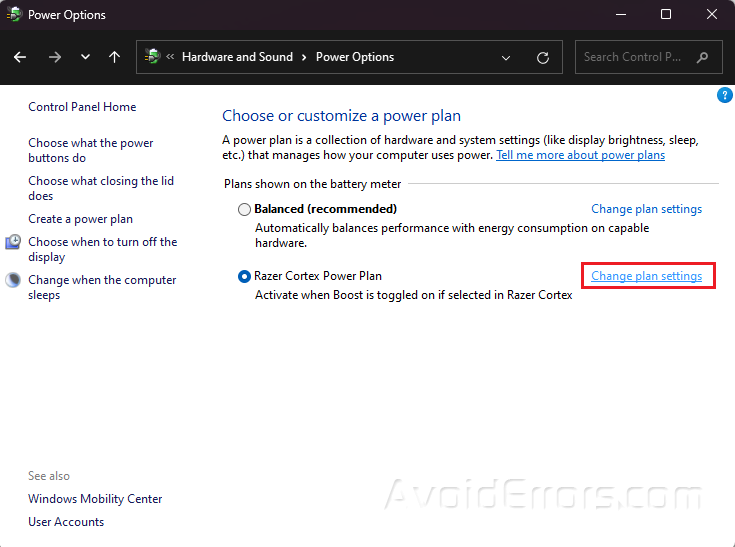
Select Power Options.

Click Change plan settings for your current power plan.
Assign the time duration for Turn off the display with both On battery and Plugged in.
Press Save changes.

Use Advanced Power Options
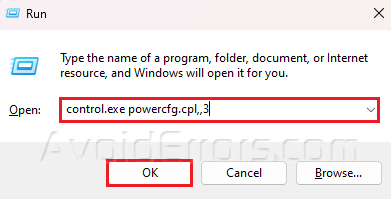
Press Win + R to open the Run Command.
Type control.exe powercfg.cpl,,3 and press Enter.
Under the Advanced Power options, expand the Display category and Turn off display after.
Assign the time duration for On battery and Plugged in.
Press Apply then OK.


